Hydraulic systems are the backbone of many industries, powering everything from heavy machinery to precision manufacturing equipment. Ensuring the integrity of these systems is paramount, and proper installation of hydraulic fittings is crucial. Reusable hydraulic fittings offer a sustainable and cost-effective alternative to disposable fittings, but incorrect installation can lead to leaks, system failures, and potential safety hazards.
This blog post will provide a step-by-step guide on how to install reusable hydraulic hose fittings correctly. We’ll cover essential tools, safety precautions, and best practices to ensure secure and leak-free connections. By following these guidelines, you can maximize the lifespan of your fittings, minimize downtime, and improve the overall efficiency and reliability of your hydraulic systems.
What Are Reusable Hydraulic Fittings
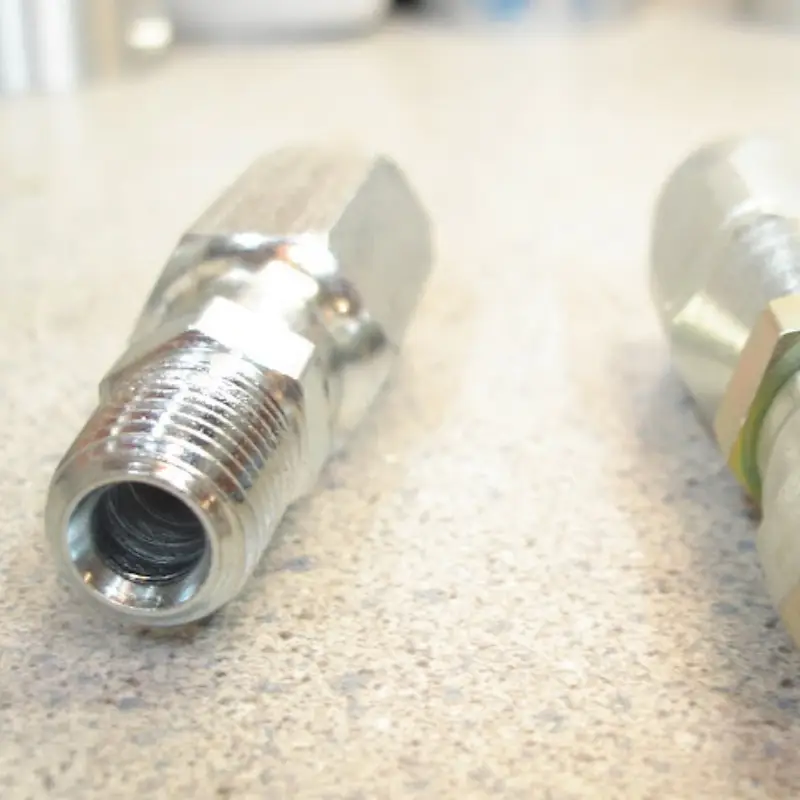
Reusable hydraulic fittings are innovative connectors designed for multiple uses, offering a significant advantage over traditional disposable fittings.
Unlike disposable fittings that are discarded after a single use, reusable fittings can be disassembled, inspected, and reassembled repeatedly. This reusability significantly reduces waste and minimizes the environmental impact of hydraulic system maintenance.
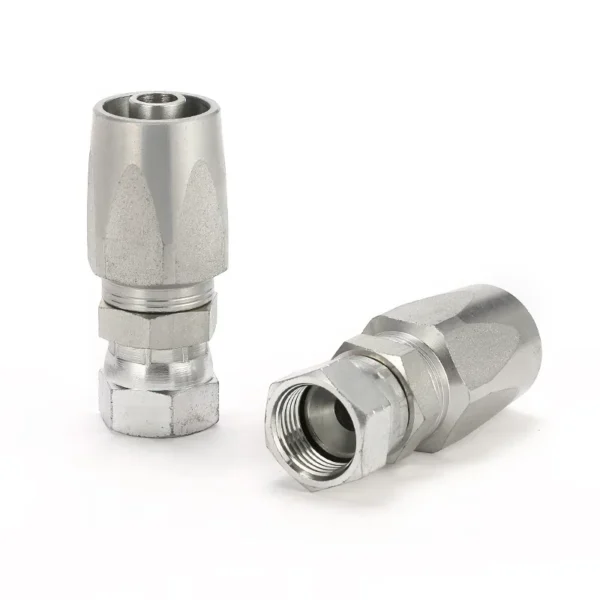
Reusable fittings are typically constructed from high-quality materials such as stainless steel or brass, ensuring durability and long-term performance. They often feature advanced sealing technologies, such as O-rings or PTFE seals, to ensure leak-free connections and reliable operation.
How to Install Reusable Hydraulic Fittings?

This is a comprehensive guide to installing reusable hydraulic hose fittings in the following:
Step 1. Prepare the Hose and Fitting:
- Ensure a Clean and Square Cut: Begin by preparing the hose for the reusable hydraulic fitting. Utilize a sharp utility knife or a specialized hose cutter to create a clean, perpendicular cut at the hose end. Avoid any jagged edges or burrs, as these can impede the fitting’s proper seating and potentially lead to leaks or premature wear and tear.
- Thorough Cleaning is Essential: After cutting, meticulously clean the hose end to remove any debris, such as metal shavings, dirt, or dust particles. These contaminants can obstruct the fitting’s internal components, hinder proper sealing, and compromise the overall integrity of the hydraulic system.
- Inspect for Damage: Before proceeding, carefully inspect the hose for any signs of damage, including cracks, abrasions, or evidence of previous leaks. If any damage is detected, replace the affected hose section to prevent potential failures and ensure the safety and reliability of the hydraulic system.
Step 2. Assemble the Reusable Hydraulic Fitting:
- Separate and Inspect Components: If the reusable hydraulic fitting arrives pre-assembled, carefully separate the socket from the stem. Conduct a thorough visual inspection of both components for any signs of damage, such as cracks, nicks, or missing parts.
- Apply Thread Sealant (When Necessary): In some cases, applying a thin, even layer of thread sealant to the threads of the socket may be beneficial. However, ensure that the sealant does not obstruct the internal passageways of the fitting. Refer to the manufacturer‘s instructions for specific recommendations regarding the use of thread sealant.
- Lubricate for Smooth Insertion: Apply a small amount of hydraulic fluid or a compatible lubricant to the threads of the stem and the inside of the socket. This lubrication will facilitate smooth assembly, reduce the risk of galling or seizing, and ultimately improve the overall installation process.
Step 3. Connect and Tighten the Reusable Hydraulic Fitting:
- Hand Tightening for Initial Engagement: Align the threads of the socket with the prepared hose end and begin tightening by hand. Turn the socket clockwise until you feel initial resistance. Hand tightening provides initial engagement and helps prevent cross-threading during the subsequent wrench tightening step.
- Wrench Tightening with Precision: Utilize appropriate wrenches, such as an adjustable wrench or a torque wrench, to continue tightening the reusable hydraulic fitting. Refer to the manufacturer‘s instructions for specific torque specifications, as exceeding recommended torque values can damage the fitting, the hose, or the equipment.
- Leak Check for System Integrity: After tightening the fitting to the specified torque, carefully inspect the connection for any signs of leaks, such as fluid seepage or drips. If any leaks are detected, carefully tighten the fitting further within the recommended torque limits. However, avoid excessive tightening, as it can compromise the integrity of the seal and potentially damage the components.
By adhering to these detailed steps and following the manufacturer‘s recommendations, you can effectively install reusable hydraulic fittings, ensuring secure, leak-free connections within your hydraulic system. Proper installation is crucial for optimal system performance, reduced downtime, and enhanced safety.
How to Put Fittings on Hydraulic Hose
Step 1. Prepare the Hose
- Precise Cutting: Utilize a specialized hose cutter designed for clean, perpendicular cuts. Avoid using a utility knife, as it may create jagged edges that can interfere with the fitting’s installation and compromise the seal.
- Eliminate Debris: After cutting, meticulously clean the hose end to remove any dirt, dust, metal shavings, or other contaminants. These particles can obstruct the fitting’s internal components, hinder proper sealing, and potentially lead to leaks or premature hose failure.
- Inspect for Damage: Before proceeding, conduct a thorough visual inspection of the hose for any signs of damage, such as cracks, abrasions, or evidence of previous leaks. If any damage is detected, discard the affected hose section and replace it with a new one to ensure the safety and reliability of the hydraulic system.
Step 2. Select and Prepare the Hydraulic Fitting
- Choose the Correct Hydraulic Fitting: Select the appropriate type of hydraulic fitting for the specific application and hose size. Factors to consider include the operating pressure, fluid type, and the required flow rate.
- Inspect the Fitting: Carefully inspect the fitting for any signs of damage, such as cracks, nicks, or burrs. Ensure all components of the fitting are present and in good condition.
- Apply Lubricant (When Necessary): In some cases, applying a small amount of hydraulic fluid or a compatible lubricant to the threads of the fitting can facilitate smooth assembly and reduce the risk of galling or seizing. Refer to the manufacturer‘s instructions for specific recommendations regarding the use of lubricants.
Step 3. Attach the Fitting to the Hose
- Insert the Fitting: Carefully insert the fitting into the prepared hose end. Ensure proper alignment to prevent misalignment and potential leaks.
- Hand Tighten: Begin tightening the fitting by hand. This provides initial engagement and helps prevent cross-threading during the subsequent wrench tightening step.
- Wrench Tightening with Precision: Utilize appropriate wrenches, such as an adjustable wrench or a torque wrench, to continue tightening the fitting. Refer to the manufacturer‘s instructions for specific torque specifications. Overtightening can damage the fitting, the hose, or the equipment, while undertightening can lead to leaks and system failures.
- Leak Check: After tightening the fitting, carefully inspect the connection for any signs of leaks, such as fluid seepage or drips. If any leaks are detected, carefully tighten the fitting further within the recommended torque limits. However, avoid excessive tightening.
Step 4. Final Inspection and Testing
- Visual Inspection: Conduct a final visual inspection of the assembled hose and fitting to ensure proper alignment, secure connections, and the absence of any leaks or damage.
- Pressure Test (Optional): If applicable, perform a pressure test on the assembled hose and fitting to verify its integrity and ensure it can withstand the operating pressures of the hydraulic system.
By following these detailed steps and adhering to safety guidelines, you can effectively install hydraulic fittings, ensuring secure, leak-free connections and optimal performance of your hydraulic system.
Conclusion
By carefully following these steps, you can successfully install reusable hydraulic hose fittings, ensuring secure and leak-free connections within your hydraulic system. Proper installation is crucial for optimal performance, reduced downtime, and enhanced system longevity.
Ready to optimize your hydraulic system with our high-quality reusable fittings? Contact us today to discuss your specific needs and explore our comprehensive range of solutions. Our team of experts is available to assist you in selecting the ideal fittings for your application and provide valuable guidance on installation and maintenance.
Get Reusable Hydraulic Fittings from Us Now!


