Hydraulic systems rely heavily on proper installation of their fittings to function effectively and safely.
This guide will provide a comprehensive overview of how to install hydraulic fittings, covering essential steps from selecting the right fittings to ensuring leak-free connections. Proper installation is crucial to prevent leaks, minimize downtime, and maximize the lifespan of your hydraulic system.
What Are Hydraulic Fittings
Hydraulic fittings are specialized components that serve as the crucial connection points within a hydraulic system. They are designed to connect various parts of the system, such as hoses, pipes, cylinders, and valves, ensuring the smooth and uninterrupted flow of hydraulic fluid. These hydraulic fittings are engineered to withstand high pressures and provide a strong, leak-free seal within the hydraulic circuit.
How to Install Hydraulic Fittings
Proper installation of hydraulic fittings is paramount for the safe and reliable operation of any hydraulic system. Improperly installed fittings can lead to leaks, system failures, and even pose significant safety hazards.
Here’s a step by step guide on how to properly attach hydraulic fittings:
Step 1: Preparation and Safety
Before commencing any installation, a thorough safety assessment and preparation are crucial. Isolate the specific component or section of the system where you will be working to minimize the risk of unexpected fluid release. This might involve shutting down the power source or utilizing valves to effectively block off the flow of hydraulic fluid.
Always prioritize safety by releasing any residual pressure within the system before disconnecting or installing any fittings. This step is critical to prevent unexpected fluid ejection and potential injuries. Employing a relief valve or utilizing a pressure gauge to carefully monitor system pressure during this process is recommended.
Personal safety is paramount. Wear appropriate safety gear, including safety glasses, gloves, and long sleeves, to protect yourself from potential injuries from leaking fluid or high-pressure components.
Refer to the system’s operating manual for specific safety procedures and installation guidelines relevant to the particular fittings used in that system. These manuals often provide valuable insights into potential hazards and recommended safety protocols.
Finally, ensure a clean and organized work area. A clean workspace minimizes the risk of debris or contaminants entering the hydraulic system, potentially leading to malfunctions or premature wear and tear on components.
Step 2: Selecting the Right Fittings
Selecting the appropriate fittings is a critical decision that directly impacts system performance and reliability.
- Compatibility: Choose fittings that are fully compatible with the type of hydraulic fluid utilized within the system. Factors such as fluid compatibility, operating pressure, and temperature ranges must be carefully considered.
- Material Compatibility: Ensure the chosen fitting material is compatible with the hydraulic fluid to prevent corrosion and degradation. Materials like stainless steel, brass, or aluminum may be suitable depending on the specific fluid and operating conditions.
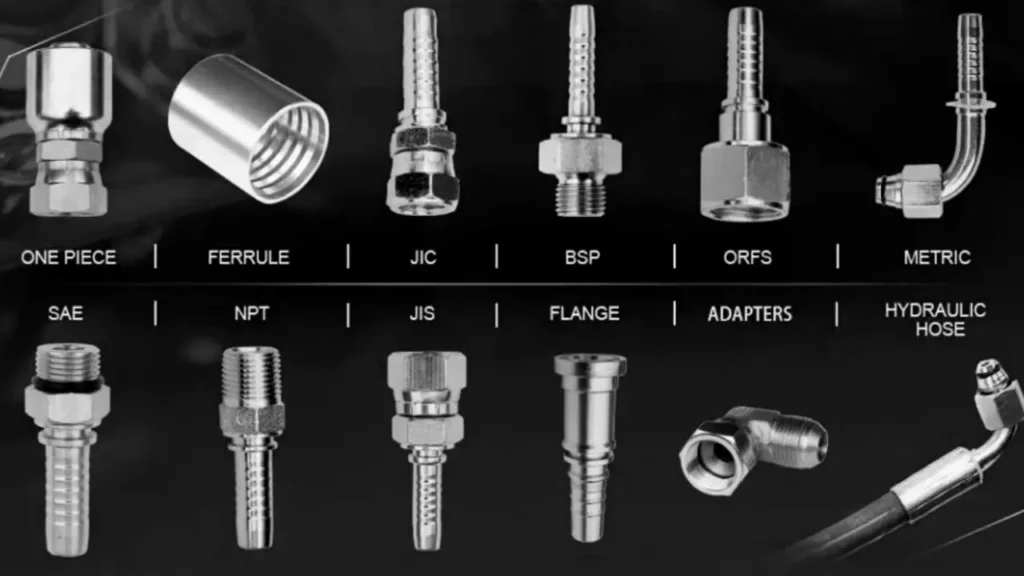
- Hydraulic Fitting Types: Select the appropriate fitting type for the specific application. Common types include flared fittings, threaded fittings, and O-ring boss fittings, each with its own unique design and installation requirements.
- Manufacturer‘s Specifications: Always adhere to the manufacturer‘s specifications for the fittings. These specifications provide crucial information regarding compatibility, installation procedures, and torque values, ensuring optimal performance and longevity.
Step 3: Preparing the Fittings and Components
Proper preparation of the fittings and associated components is essential for a secure and leak-free installation.
- Thorough Cleaning: Meticulously clean the fittings to remove any dirt, debris, manufacturing oils, or other contaminants. A clean mating surface is crucial for establishing a proper seal and preventing potential leaks.
- Rigorous Inspection: Carefully inspect the fittings for any signs of damage, such as cracks, nicks, or burrs. Even minor imperfections can compromise the integrity of the seal and lead to potential leaks or system failures. Discard any damaged fittings immediately.
- Prepare Sealing Elements: If using O-rings or other sealing elements, ensure they are the correct size, in excellent condition, and properly lubricated (if applicable). Lubrication can facilitate smooth insertion and reduce the risk of damage to the seal.
Step 4: Assembly and Tightening
Proper assembly and tightening are critical for a secure and leak-free connection.
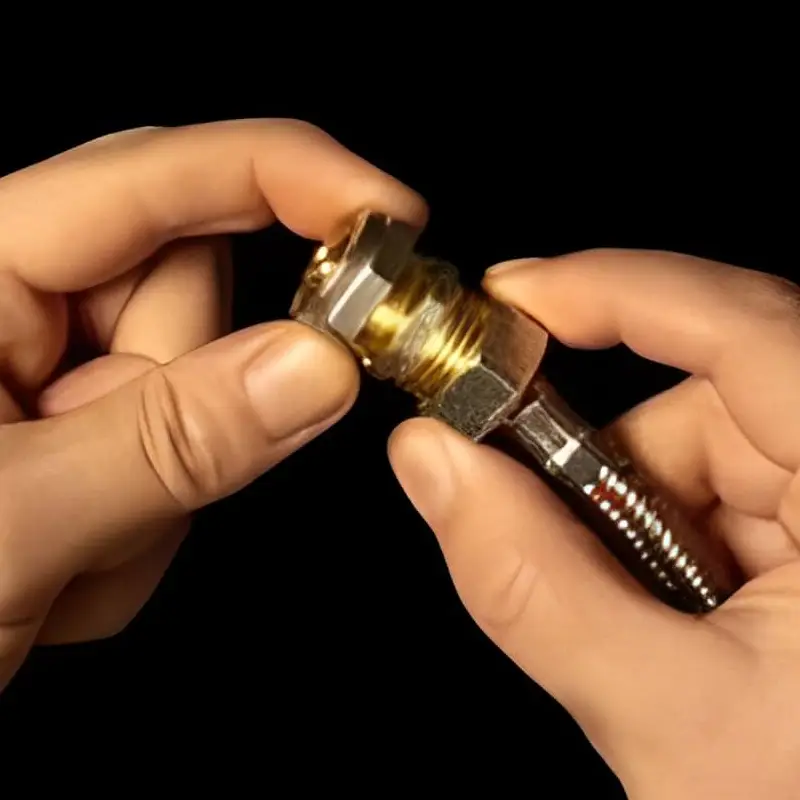
- Hand-Tightening: Begin by hand-tightening the fitting to ensure proper alignment and prevent cross-threading. Hand-tightening provides initial contact and establishes a basic alignment before proceeding to the next step.
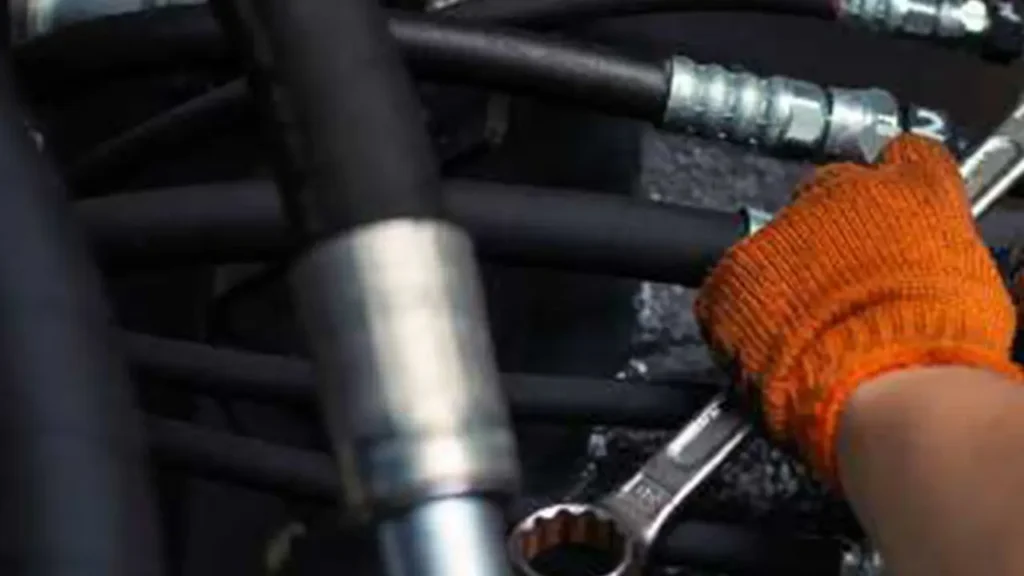
- Torque Wrench Application: If torque values are specified by the manufacturer, utilize a torque wrench to tighten the fitting to the recommended torque. Torque wrenches provide precise control over the applied force, minimizing the risk of over-tightening, which can damage the fitting or crush seals.
- Over-Tightening Prevention: Over-tightening is a significant concern. It can lead to damage to the fitting, crush seals, or even strip the threads, compromising the integrity of the connection.
- Leak Detection and Correction: After tightening, carefully inspect the fitting for any signs of leaks. If a leak is detected, carefully re-tighten the fitting to the specified torque. However, avoid excessive re-tightening, as it can exacerbate the problem.
Step 5: Post-Installation Inspection and Testing
A thorough post-installation inspection and testing regimen is crucial to ensure the safety and reliability of the hydraulic system.
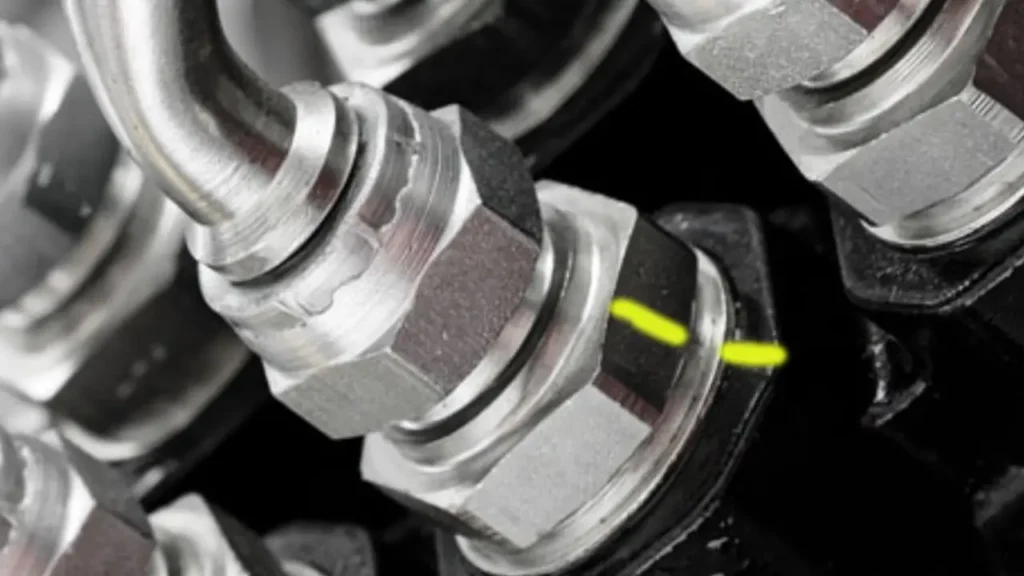
- Visual Inspection: Conduct a comprehensive visual inspection of all installed fittings for any signs of leaks, damage, or misalignment.
- Pressure Testing: If applicable, perform a pressure test on the system to verify that there are no leaks and that the system is operating correctly. Pressure testing helps to identify any potential leaks that may not be immediately apparent during a visual inspection.
- Operational Testing: Operate the system under normal operating conditions and carefully monitor for any signs of leaks, unusual noises, or other indications of problems. This operational test helps to identify any potential issues that may not be evident during static testing.
By diligently adhering to these guidelines and prioritizing safety, you can ensure that your hydraulic fittings are properly installed, minimizing the risk of leaks, system failures, and costly downtime.
How to Install Reusable Hydraulic Hose Fittings
1. Preparation and Safety
- Isolate the System: If possible, isolate the section of the hydraulic system where you’ll be working. This might involve shutting down the power source or using valves to block fluid flow.
- Release Pressure: Always release any residual pressure within the system before disconnecting or installing fittings. Use a relief valve or pressure gauge to ensure the system is depressurized.
- Safety Gear: Wear safety glasses, gloves, and long sleeves to protect yourself from potential injuries.
- Clean Work Area: Maintain a clean workspace to prevent contamination of the fittings and the hydraulic system.
2. Select the Correct Fittings
- Compatibility: Choose fittings compatible with the hydraulic fluid, operating pressure, and temperature within the system.
- Material Compatibility: Ensure the fitting material is compatible with the fluid to prevent corrosion.
- Fitting Type: Select the appropriate fitting type (e.g., swivel, straight, 90-degree) for the application.
- Manufacturer‘s Instructions: Always refer to the manufacturer‘s instructions for specific fitting compatibility and installation guidelines.
3. Prepare the Hose and Fitting
- Clean the Hose: Ensure the hose end is clean and free of burrs.
- Inspect the Fitting: Check the fitting for any damage, such as cracks or burrs.
- Lubricate (if necessary): Apply a small amount of hydraulic fluid or lubricant to the threads of the fitting to aid in assembly.
4. Install the Fitting
- Hand-tighten: Start by hand-tightening the fitting onto the hose.
- Use Wrenches: Use wrenches of the appropriate size to tighten the fitting securely. Avoid over-tightening, which can damage the fitting or the hose.
- Torque Wrench (if applicable): If torque specifications are provided, use a torque wrench to achieve the correct tightening force.
5. Post-Installation Inspection
- Visual Inspection: Carefully inspect the installed fitting for any signs of leaks.
- Pressure Test (if applicable): If possible, conduct a pressure test on the system to verify there are no leaks.
- Operational Test: Operate the system under normal conditions and monitor for any leaks or unusual behavior.
Important Notes:
- Reusable fittings are designed for multiple uses. However, inspect them carefully for wear and tear before reusing.
- Consult the manufacturer‘s instructions for specific installation and torque recommendations for each type of reusable fitting.
- Always prioritize safety during the installation process.
By following these steps and adhering to safety precautions, you can ensure proper installation of reusable hydraulic hose fittings, minimizing the risk of leaks and maximizing system performance.
Conclusion
Properly installing hydraulic fittings is crucial for the safe and reliable operation of any hydraulic system. By following the guidelines outlined in this post, you can ensure that your fittings are installed correctly, minimizing the risk of leaks, system failures, and costly downtime.
Ready to upgrade your hydraulic systems with high-quality fittings?
Contact us today to get a quote for your wholesale hydraulic fitting needs. Our team of experts can assist you in finding the perfect solutions for your specific requirements.


