Accurate measurement of SAE fittings is essential for ensuring proper connections and preventing costly leaks in hydraulic systems. These standardized fittings, used across various industries, require precise dimensions to guarantee compatibility and optimal performance. Misunderstandings in measurements can lead to system failures, downtime, and increased expenses.
This guide will provide a clear and concise approach to measuring SAE fittings, covering the necessary tools and step-by-step instructions. By understanding the key measurement points and techniques, you can confidently select and install the correct fittings for your specific application.
What Is SAE

SAE, or the Society of Automotive Engineers, is a globally recognized standards organization that develops technical standards for engineering professionals in various industries, including automotive, aerospace, and commercial vehicles.
In the hydraulic fitting industry, SAE standards define the dimensions, performance requirements, and testing procedures for various types of fittings, ensuring interchangeability and reliability.
What Are SAE Fittings
SAE fittings are hydraulic connectors that adhere to standards developed by the Society of Automotive Engineers (SAE). The SAE standards define the dimensions, materials, and performance criteria for hydraulic fittings, ensuring they meet rigorous quality and safety requirements. This standardization is crucial for guaranteeing interchangeability and reliability across various hydraulic systems and equipment.
SAE fittings are widely used in a variety of industries, including automotive, aerospace, agriculture, construction, and manufacturing. They play a vital role in connecting hydraulic hoses, tubes, and other components, enabling the efficient transfer of hydraulic fluid. Their design and construction are specifically engineered to withstand high pressures and prevent leaks, making them essential for maintaining the integrity and performance of hydraulic systems.
How to Measure SAE Fittings?
Measuring SAE fittings accurately is essential for ensuring proper connections and preventing leaks in hydraulic systems. Here’s a step-by-step guide about SAE fitting measurement as follows:
Step 1. Identify the Fitting Type
Before measuring, you must determine the specific type of SAE fitting you’re working with. Common types include JIC (Joint Industry Council) 37-degree flared fittings, ORFS (O-Ring Face Seal) fittings, and SAE flange fittings. Each type has unique characteristics that affect how measurements are taken.
Identifying the fitting type involves visually inspecting the fitting’s design, including the flare angle, sealing mechanism, and connection style. Refer to manufacturer specifications or reference charts if you are unsure of the fitting type. Knowing the type is crucial because it dictates which dimensions are most critical for accurate measurement.
Step 2. Measure the Thread Size
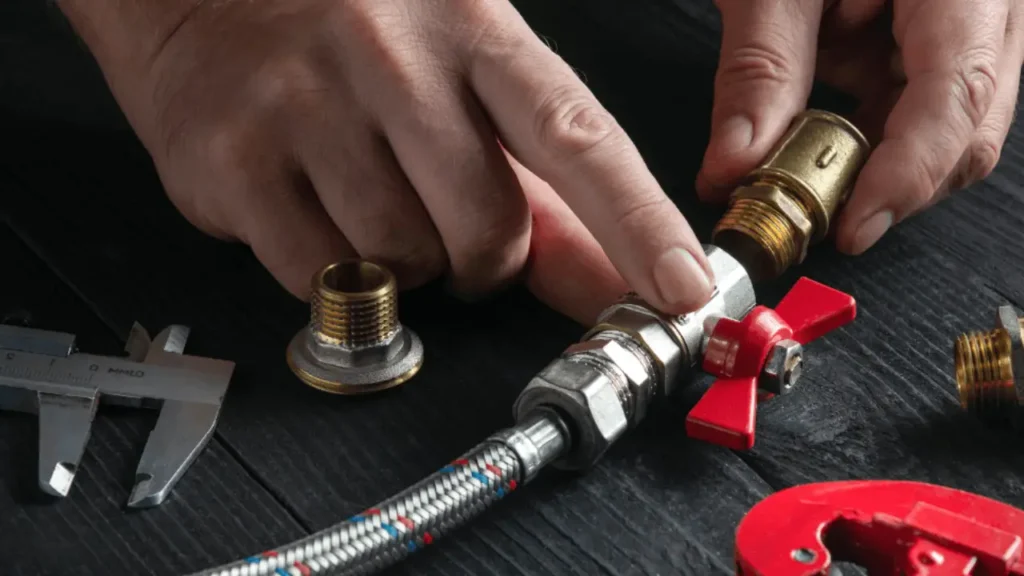
Thread size is a critical dimension for SAE fittings. Use calipers or thread gauges to measure the outside diameter (OD) of male threads and the inside diameter (ID) of female threads. For tapered threads, measure the OD at several points along the thread length.
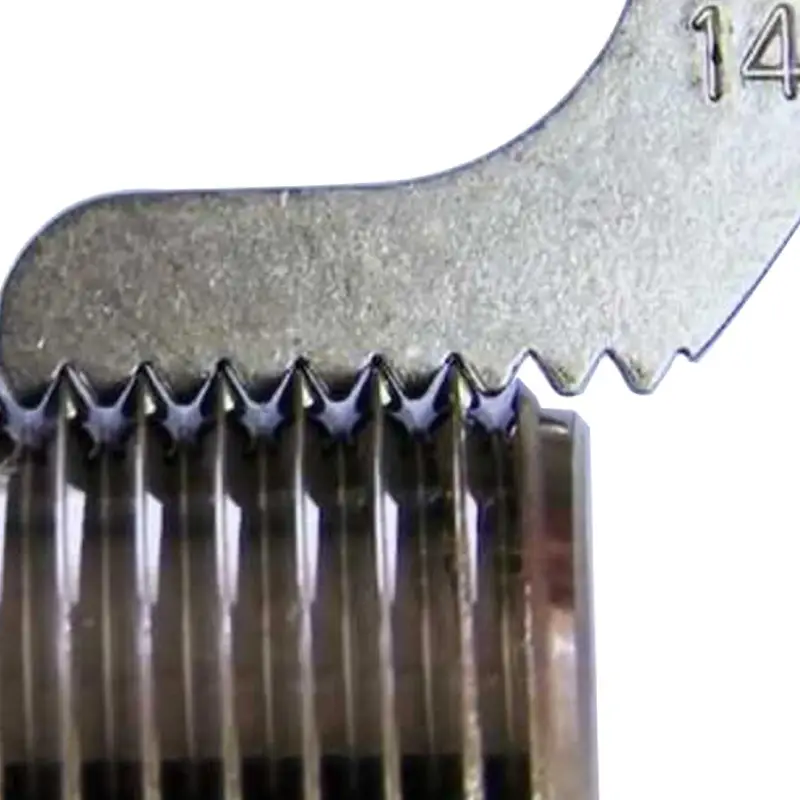
To determine the thread pitch, use a thread pitch gauge. Align the gauge’s teeth with the threads, and find the gauge that matches perfectly. The thread pitch is the number of threads per inch or millimeter. Correct thread size and pitch measurements are essential for selecting compatible fittings.
Step 3. Determine the Seat Angle
SAE fittings often feature a tapered seat that creates a seal. For JIC fittings, the standard seat angle is 37 degrees. Use a protractor or angle gauge to measure the seat angle accurately.
The seat angle is crucial for ensuring a proper seal. An incorrect seat angle can lead to leaks and system failure. Verify the seat angle against the manufacturer‘s specifications or reference charts to confirm compatibility.
Step 4. Measure the Overall Length and Other Dimensions
Measure the overall length of the fitting using calipers or a ruler. This is important for ensuring the fitting fits within the available space. Additionally, measure other critical dimensions, such as the body diameter and hex size.
Other dimensions might include the port size, the length of the threaded portion, and the diameter of the sealing surface. These measurements are important for ensuring proper fitment and functionality within the hydraulic system. Record all measurements accurately for future reference.
Step 5. Use Reference Charts and Manufacturer Specifications
Compare your measurements with reference charts and manufacturer specifications to confirm the fitting size and type. These resources provide detailed dimensions and tolerances for various SAE fittings.
Using reference charts and specifications helps you to verify that your measurements are within acceptable ranges. It also aids in identifying the specific fitting part number or designation, which simplifies ordering and replacement.
How to Measure SAE Flare Fittings?
Measuring SAE flare fittings accurately is critical for ensuring proper connections and preventing leaks in hydraulic systems. Here’s a step-by-step guide about SAE flare fitting measurement:
Step 1: Identify the Fitting Type
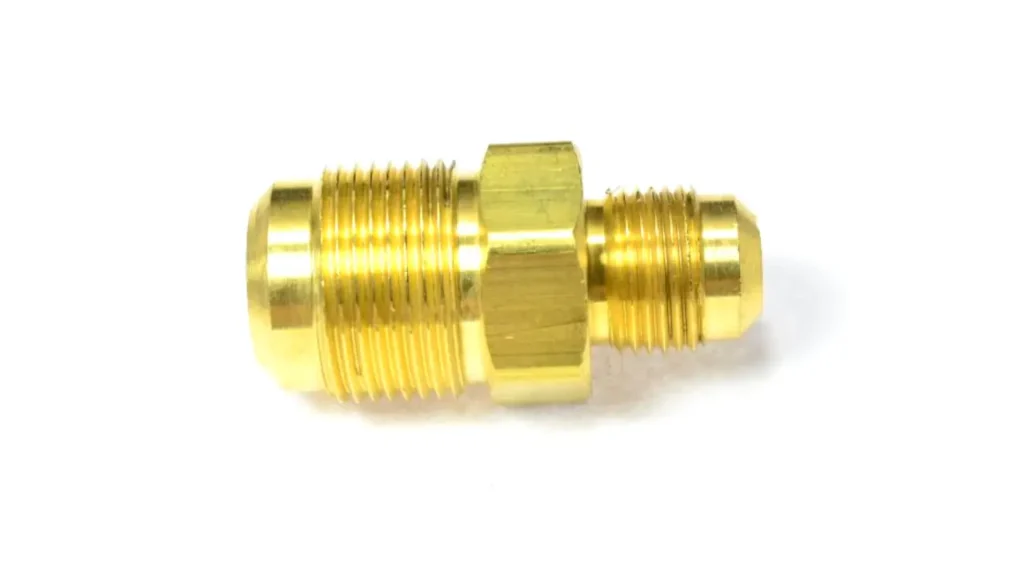
Before you begin measuring, it’s essential to identify the specific type of SAE flare fitting you’re working with. Common types include 37-degree flare (JIC), 45-degree flare, and inverted flare. Each type has distinct characteristics and measurement requirements, so proper identification is crucial.
Visually inspect the fitting for the flare angle. The 37-degree flare is the most common and is characterized by its sharp, angled flare. 45-degree flares have a more obtuse angle. Inverted flares have the flare inside the fitting. If you’re unsure, compare the fitting to known examples or consult a fitting catalog. Correct identification will ensure you use the proper measurement techniques.
Step 2: Measure the Thread Size
Accurately measuring the thread size is essential for determining the fitting’s compatibility. Use a caliper to measure the outside diameter (OD) of the threads for external threads and the inside diameter (ID) for internal threads. Also, use a thread pitch gauge to determine the thread pitch (threads per inch or millimeters).
For external threads, place the caliper jaws on the outermost points of the threads. For internal threads, carefully place the caliper’s internal measuring jaws inside the thread. Read the measurement on the caliper. Then, use the thread pitch gauge to determine the thread pitch. Match your measurements to an SAE thread size chart to identify the thread size and series.
Step 3: Measure the Flare Angle
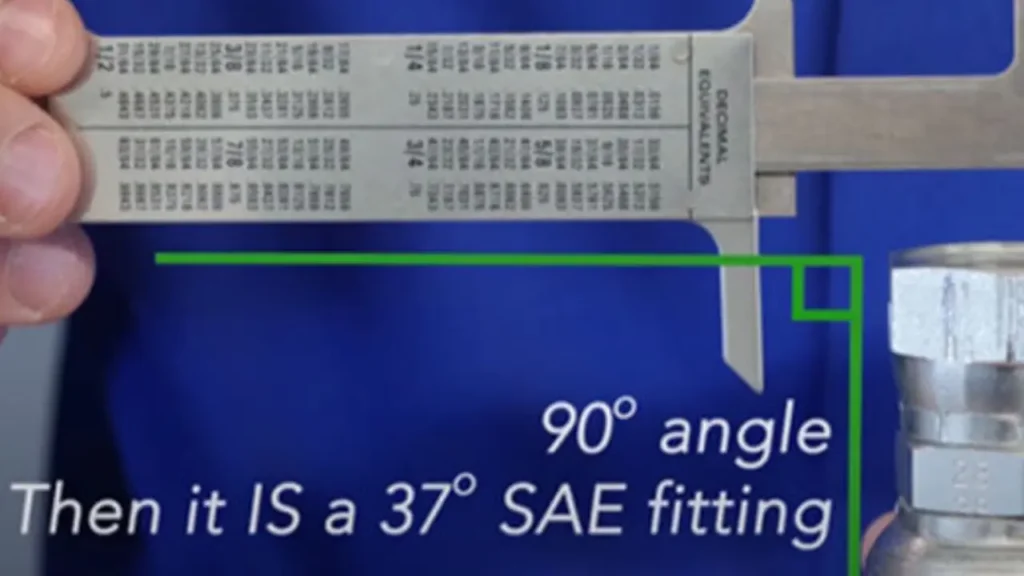
The flare angle is a critical measurement for SAE flare fittings. Use a protractor or a specialized flare angle gauge to determine the angle of the flare. This measurement will confirm the fitting type (37-degree, 45-degree, or inverted).
Place the protractor or flare angle gauge against the flared surface of the fitting. Ensure the gauge is aligned with the fitting’s centerline. Read the angle measurement from the gauge. This will confirm the flare angle and ensure you’re using the correct type of fitting for your application.
Step 4: Measure the Flare Seat Diameter
Measure the diameter of the flare seat, which is the surface where the flare mates with the corresponding fitting or hose end. Use a caliper to measure the inside diameter of the flare seat.
Carefully place the caliper jaws inside the flare seat, ensuring they are positioned at the widest point. Read the measurement from the caliper. This measurement is crucial for ensuring a proper seal and preventing leaks.
Step 5: Verify and Cross-Reference
After taking all measurements, verify them against an SAE fitting size chart. Cross-reference your measurements to ensure they align with the standard dimensions for the identified fitting type.
Double-check your measurements to prevent errors. Consult a fitting catalog or online resources to confirm the compatibility of your measurements with standard SAE fitting sizes. This verification process will ensure you select the correct fittings for your hydraulic system.
Conclusion
Accurate measurement of SAE fittings is essential for ensuring proper connections and preventing leaks in hydraulic systems. Key factors include identifying the fitting type, measuring thread size, and determining seat angles. Consistent and precise measurements guarantee compatibility and optimal performance.
Understanding the nuances of SAE fitting measurement empowers you to select the correct components for your applications. Utilizing tools like calipers and thread gauges simplifies the process, reducing errors and saving time. Proper measurement directly contributes to system reliability and efficiency.
For a wide selection of high-quality wholesale SAE fittings, explore the extensive inventory at DF Hydraulics. Visit us now to find the ideal fittings for your hydraulic needs.


