When it comes to plumbing and industrial applications, MIP (Male Iron Pipe) copper fittings are an essential component. As someone who has worked extensively with these fittings, I’ve learned that proper installation is critical for ensuring a secure and leak-free connection.
Today, I’ll share my insights, focusing on how to tighten MIP copper pipe fitting effectively.
What Is an MIP Copper Pipe Fitting?
An MIP (Male Iron Pipe) copper fitting is a plumbing component with external threads designed to connect to a Female Iron Pipe (FIP) fitting with internal threads. These fittings are integral to plumbing systems because they create a tight seal, ensuring the secure transport of liquids or gases.

Features of MIP Copper Pipe Fittings:
- Threaded Connection: External threads allow for easy screwing into FIP fittings, ensuring a leak-proof connection.
- Material Strength: Made of copper, these fittings resist corrosion, high pressure, and extreme temperatures, making them suitable for long-term use.
- Adaptability: MIP fittings can be connected to different materials, such as PVC or steel, using adapters.
Usage Scenarios for MIP Copper Pipe Fittings:
- Residential Plumbing:
Used in home water supply lines, faucets, and outdoor spigots due to copper’s corrosion resistance. - Commercial and Industrial Systems:
Widely employed in HVAC systems, compressed air systems, and gas pipelines because of their durability and compatibility with high-pressure systems. - Irrigation Systems:
Used in connecting sprinkler systems and water tanks in agricultural settings. - Repair and Maintenance:
Ideal for replacing or repairing damaged pipes in existing plumbing setups, especially when threaded connections are necessary.
Tools and Materials Needed to Tighten an MIP Copper Pipe Fitting
Having the right tools and materials ensures a smooth installation and minimizes the risk of leaks or damage. Below is an extended list of what you’ll need:
Tools:

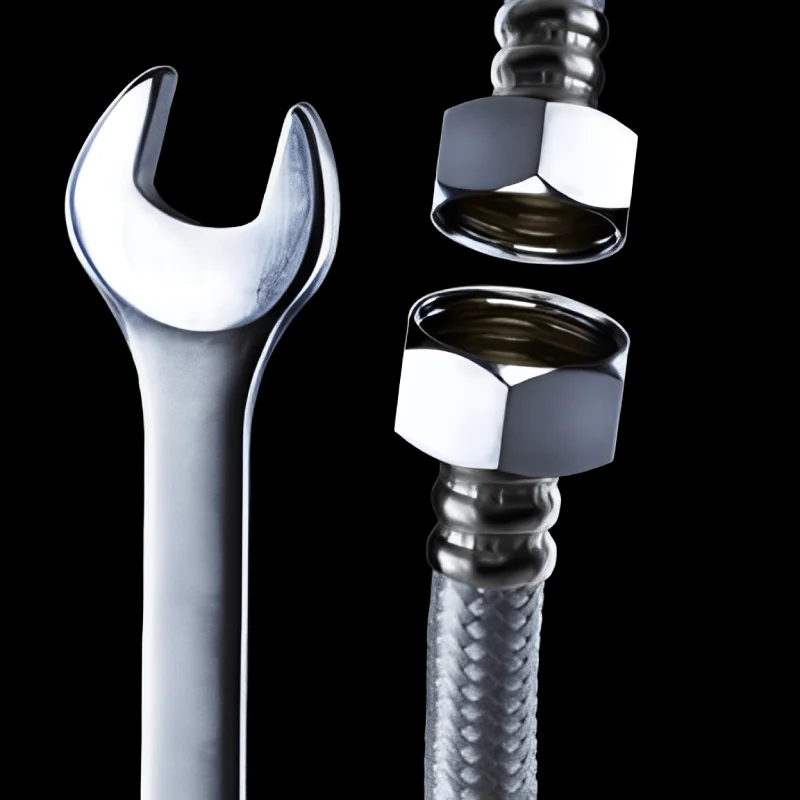
- Pipe Wrench or Adjustable Wrench:
Essential for gripping and turning the fitting without slipping. - Thread Seal Tape (Teflon Tape):
Prevents leaks by sealing gaps between the threads. - Pipe Dope (Thread Sealant):
An alternative to Teflon tape, often preferred for its ease of application in gas or high-pressure systems. - Wire Brush or Thread Cleaning Tool:
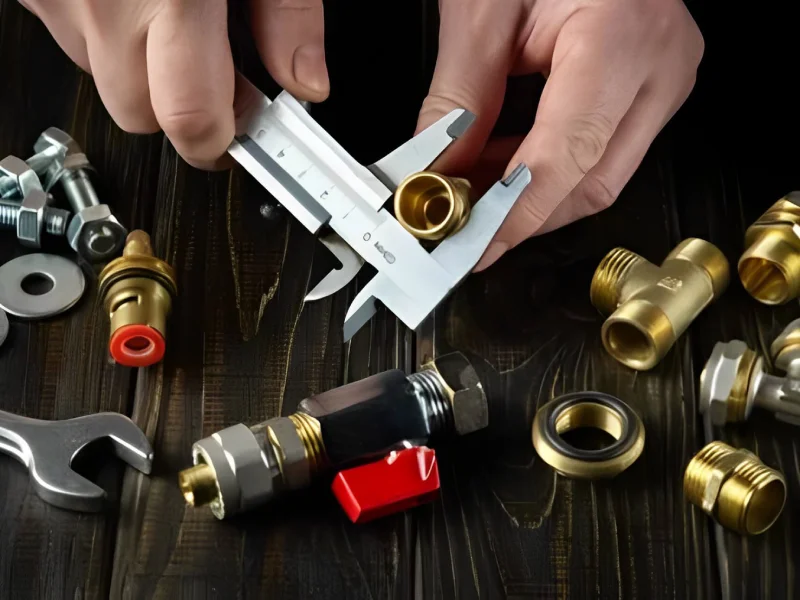
Removes dirt, debris, or rust from the threads to ensure a secure seal. - Measuring Tape or Calipers:
Helps verify the correct size of the fitting and pipe for compatibility.
Additional Materials:
- Sealant-Specific Cleaner:
Used to clean pipe threads when switching between different sealant types. - Lubricating Oil:
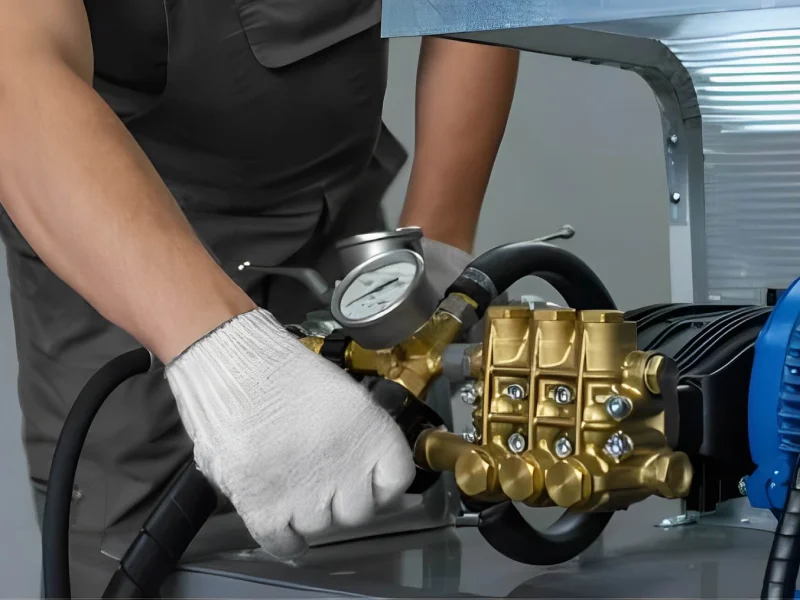
Facilitates smoother tightening by reducing friction between threads. - Pressure Testing Equipment:
Ensures that the final connection can withstand operating pressures without leaks.
Step-by-Step Guide: How to Tighten MIP Copper Pipe Fitting
- Choose the Right Fitting:
Start by verifying the size and type of MIP fitting required for your application. Check compatibility with the pipe and ensure the threads match. - Inspect the Threads:
Examine both the MIP and FIP threads for signs of wear, rust, or damage. Replace any fittings with visible flaws. - Clean the Threads:
Use a wire brush or thread cleaner to remove debris or old sealant from the threads. This step ensures a tight connection without obstructions. - Apply Thread Sealant:
- Teflon Tape: Wrap the MIP fitting’s threads in a clockwise direction 2-3 times, ensuring even coverage without excess.
- Pipe Dope: Apply a thin, even layer along the threads for a stronger seal, particularly in gas lines.
- Hand-Tighten the Fitting:
Align the MIP fitting with the FIP fitting and turn clockwise by hand until resistance is felt. This ensures proper alignment and minimizes the risk of cross-threading. - Secure with a Wrench:
Use a pipe wrench or adjustable wrench to tighten the fitting. Hold the FIP fitting steady with another wrench to avoid twisting. Tighten the MIP fitting 1-2 additional turns but avoid over-tightening. - Pressure Test the Connection:
After tightening, test the system by running water, air, or gas through the pipe at operating pressure. Look for any signs of leaks or pressure drops. - Make Adjustments if Needed:
If leaks are detected, carefully tighten the fitting further or reapply thread sealant as necessary.
Common Mistakes to Avoid
- Skipping Size Verification:
Using a mismatched fitting can result in leaks or damage to the system. Always confirm the fitting size and thread type before installation. - Over-Tightening:
Applying excessive force can strip threads, crack fittings, or deform the copper material. Use tools judiciously and stop once the fitting feels secure. - Inadequate Thread Sealant:
Neglecting to use Teflon tape or pipe dope leads to leaks. Always apply the appropriate sealant for the application. - Cross-Threading:
Forcing a misaligned fitting can damage threads and compromise the seal. Start by hand-tightening to ensure proper alignment. - Ignoring Thread Cleanliness:
Dirty or corroded threads prevent a tight seal. Always clean threads thoroughly before applying sealant. - Skipping Pressure Testing:
Failing to test the system after installation can leave leaks undetected, leading to potential damage later.
In my years of working with plumbing systems, I’ve encountered situations where improper tightening led to major issues. One memorable case involved a fitting that was overtightened, causing it to crack.
This experience taught me the importance of precision and patience when working with MIP fittings. By following the steps I’ve outlined, you can avoid such pitfalls and ensure a durable, leak-free connection.
Conclusion
Mastering how to tighten MIP copper pipe fitting is essential for anyone involved in plumbing or industrial applications. By understanding the tools, techniques, and potential pitfalls, you can achieve a secure and reliable connection.
Remember, a well-tightened MIP fitting ensures efficiency and prevents costly leaks. Whether you’re a professional or a DIY enthusiast, these tips will guide you to success.
FAQs
What makes MIP fittings different from FIP fittings?
MIP (Male Iron Pipe): These fittings feature external threads and are designed to screw into components with internal threads. They are intended to mate with Female Iron Pipe (FIP) fittings, creating a secure and leak-proof connection.
FIP (Female Iron Pipe): Conversely, FIP fittings have internal threads that accept MIP fittings. The design ensures a snug fit when the two types of fittings are screwed together.
Can I Reuse MIP Copper Fittings?
Yes, MIP fittings can be reused as long as the threads remain undamaged. Before reinstallation, it’s crucial to clean the threads thoroughly to remove any old sealant or debris. Apply a fresh layer of thread sealant or pipe dope to ensure a proper seal and prevent leaks.
What Size MIP Fitting Do I Need?
To determine the correct size of an MIP fitting, measure the outer diameter (OD) of your pipe using calipers or a precise measuring tape. Common sizes for copper pipe fittings include 1/2 inch, 3/4 inch, and 1 inch.
Ensure the measurement is accurate to match the fitting size exactly. It’s also helpful to check the nominal pipe size (NPS) which may differ slightly from the actual OD due to wall thickness variations.
Is Teflon Tape Sufficient for Sealing Gas Line Connections?
While Teflon tape can be used for sealing many types of threaded connections, for gas lines, it’s generally recommended to use pipe dope specifically formulated for gas applications.
Pipe dope provides a more robust seal, especially under high-pressure conditions, and is less likely to cause leaks compared to Teflon tape alone. For critical applications like gas lines, always follow local codes and manufacturer recommendations.
How Do I Remove a Stuck MIP Fitting?
Removing a stuck MIP fitting can be challenging. Start by applying penetrating oil (such as WD-40) to the threads and allow it to sit for 10-15 minutes to loosen rust and corrosion. Use a pipe wrench or similar tool to grip the fitting securely and apply steady rotational force.
If the fitting remains stubbornly in place, gently heating the area with a heat gun or propane torch can help expand the metal and ease removal. Always exercise caution when using heat to avoid damaging surrounding materials or causing injury.
What Are the Signs of a Properly Tightened MIP Fitting?
A properly tightened MIP fitting should exhibit several characteristics:No visible gaps between the threads once fully tightened.
Secure feel: The fitting should not move or rotate when lightly tugged after installation.
Leak-free: Conduct a pressure test to ensure there are no signs of leaking. If using the fitting in a water system, perform a water pressure test; for gas lines, use a soap bubble test or electronic leak detector.
Proper torque: Follow manufacturer guidelines for the recommended tightening torque to avoid over-tightening, which can damage the threads or cause the fitting to fail.
By following these guidelines, you can ensure that your MIP fittings are installed correctly and function reliably in various plumbing and piping applications.


