Brass fittings are widely used across various industries due to their durability and corrosion resistance. However, even these robust components can develop leaks over time, necessitating effective sealing solutions. Understanding the common causes of leaks and the appropriate sealing techniques is crucial for maintaining system integrity.
This blog post provides a comprehensive guide on how to seal brass fittings, covering various methods and best practices. We will delve into identifying leak sources, preparing fittings, applying sealants, and testing repairs. By following these steps, you can ensure a reliable and leak-free brass fitting connection.
Why Brass Fittings Leak?
Brass fittings, while generally robust and corrosion-resistant, can develop leaks due to a variety of factors. Improper installation is a common culprit, where over-tightening or under-tightening threaded connections can compromise the seal. Over-tightening can damage the threads or fitting body, leading to cracks or deformation, while under-tightening fails to create a proper seal, allowing fluid or gas to escape. Similarly, incorrect application of thread sealants or Teflon tape can lead to leaks, especially if the sealant is incompatible with the fluid or brass material.
Wear and tear over time can also cause brass fitting leaks. Repeated exposure to pressure fluctuations, vibrations, or thermal expansion can weaken the fitting or the sealing components. Seals, O-rings, or gaskets used in conjunction with brass fittings can degrade or crack due to age or harsh environments, leading to leaks. Physical damage, such as impacts or dents, can also compromise the integrity of the fitting, creating pathways for leaks.
Environmental factors play a significant role in brass fitting leaks. Exposure to corrosive chemicals, extreme temperatures, or high humidity can accelerate the degradation of brass and sealing materials. Galvanic corrosion, which occurs when dissimilar metals are in contact, can also lead to leaks, especially in systems with varying metal components. Proper material selection and environmental protection are crucial for preventing brass fitting leaks.
Improper Installation:
- Over-tightening: Damages threads or fitting body.
- Under-tightening: Fails to create a proper seal.
- Incorrect sealant application: Incompatibility or improper use.
Wear and Tear:
- Pressure fluctuations: Weakens fitting or seals.
- Vibrations: Loosens connections.
- Thermal expansion: Stresses fittings.
- Seal degradation: cracking or aging.
- Physical Damage: impacts or dents.
Environmental Factors:
- Corrosive chemicals: Degrades brass and seals.
- Extreme temperatures: Affects sealing materials.
- High humidity: Accelerates corrosion.
- Galvanic corrosion: dissimilar metals interacting.
How to Seal Brass Fittings?
Sealing brass fittings effectively requires a careful approach, considering the material’s properties and the specific type of leak. Brass, while durable and corrosion-resistant, can still develop leaks due to improper installation, wear, or environmental factors. Here’s a comprehensive guide on how to seal leaking brass fittings:
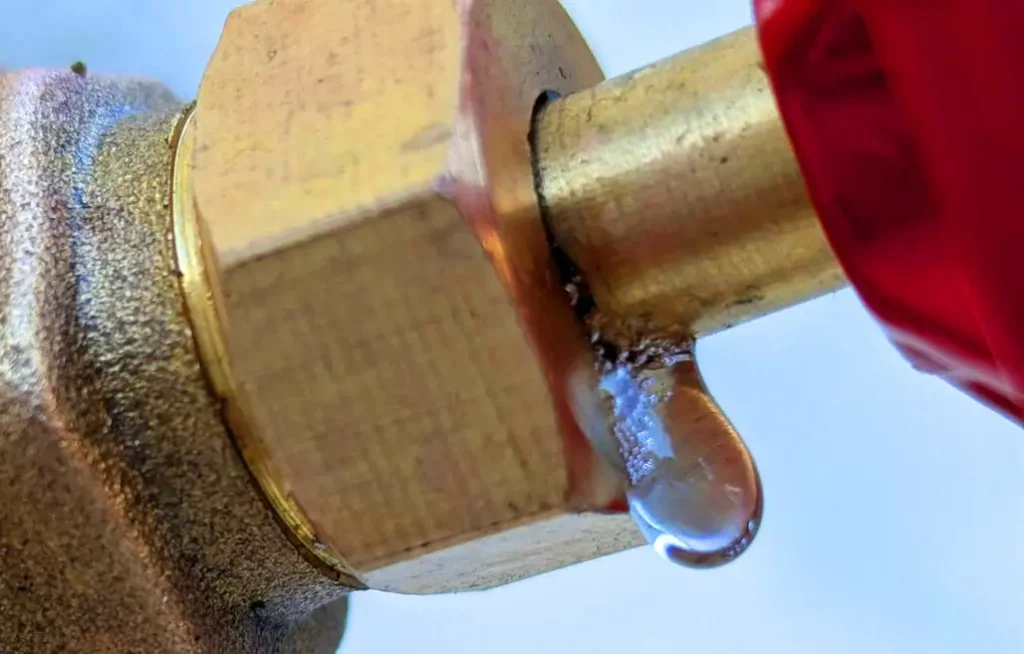
Step 1. Identify the Leak Source and Fitting Type
Begin by accurately pinpointing the leak’s origin. Thoroughly inspect the brass fitting and surrounding pipes to determine where the leak is occurring. Pay close attention to threaded connections, joints, and any areas where the brass may be stressed or damaged. Identify the type of brass fitting (e.g., threaded, compression, flared) to select the appropriate repair method.
Determine the severity of the leak. Minor leaks may be addressed with sealants or tightening, while major leaks or damaged fittings may necessitate replacement. Assess the overall condition of the brass fitting and surrounding pipes. Look for cracks, corrosion, or any signs of degradation. This assessment is critical for determining the best course of action and preventing future leaks.
Step 2. Prepare the Fitting and Surrounding Area
Before attempting any repairs, thoroughly clean the brass fitting and surrounding pipes. Remove any dirt, debris, or old sealant that could interfere with the new seal. Use a clean cloth or brass brush to ensure the surfaces are free from contaminants. If necessary, lightly sand the surfaces to create a better bonding surface for sealants or tapes.
For threaded brass fittings, disassemble the fitting if possible and remove any old thread sealant or Teflon tape. Ensure the threads are clean and undamaged. For compression or flared fittings, inspect the components for damage or wear. Proper preparation ensures a strong and lasting seal.
Step 3. Apply the Appropriate Sealing Method
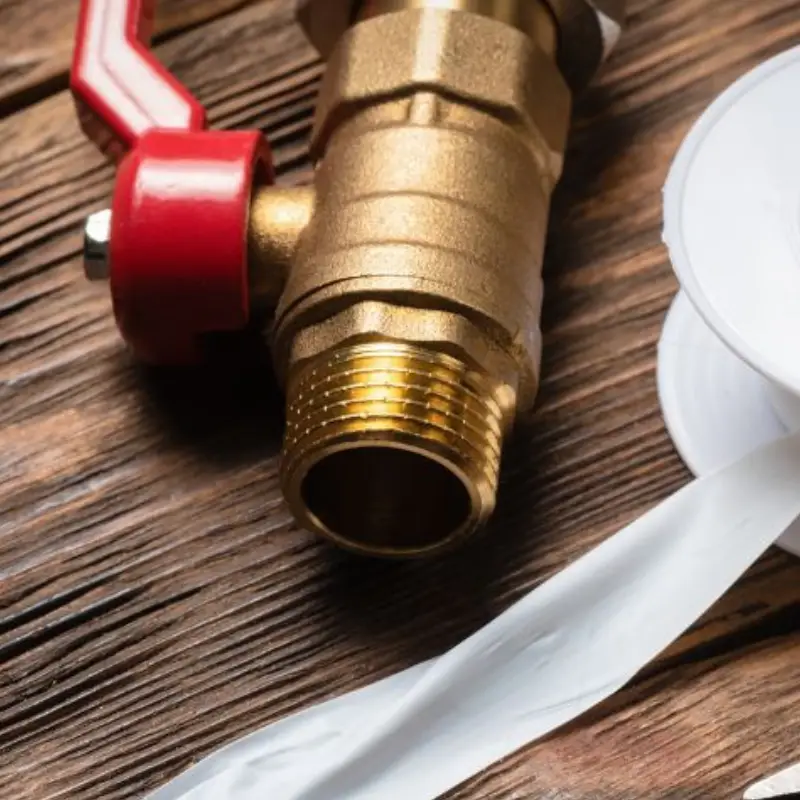
For minor leaks in threaded brass fittings, apply fresh Teflon tape or thread sealant to the male threads. Wrap Teflon tape clockwise, ensuring it covers all threads. Apply thread sealant evenly, following the manufacturer’s instructions. For compression fittings, tighten the nut using a wrench. Ensure the fitting is properly aligned and tighten the nut evenly to avoid distortion.
For flared fittings, re-flare the pipe end if necessary, or replace the flared end if damaged beyond repair. Ensure the flared end is properly seated and tightened. For leaks at the fitting body, consider using epoxy putty or a pipe repair clamp. Follow the manufacturer’s instructions for application and curing time. When working with brass, ensure the sealant or tape is compatible with the metal to prevent corrosion.
Step 4. Test the Repaired Fitting
After applying the sealing method, test the repaired brass fitting to ensure the leak is resolved. Reassemble the system and pressurize it to the operating pressure. Carefully inspect the fitting and surrounding area for any signs of leaks. Use a dry cloth to check for moisture or fluid seepage. If a leak persists, re-evaluate the repair and consider alternative sealing methods or fitting replacement.
If the fitting holds pressure without leaks, run the system under normal operating conditions for a period of time to ensure the repair’s durability. Monitor the fitting for any signs of leakage or deterioration. Proper testing and monitoring are essential to verify the repair’s effectiveness and prevent future leaks.
How to Seal Threaded Brass Fittings?
Sealing threaded brass fittings effectively requires a focused approach, as these fittings rely on the thread engagement and sealant for a leak-proof connection. Here’s a detailed guide on how to seal leaking threaded brass fittings:
Step 1. Identify the Leak Source and Assess the Fitting
Begin by accurately pinpointing the leak’s origin. Carefully inspect the threaded connection and surrounding areas to determine where the leak is occurring. Pay close attention to the threads, joint, and any areas where the brass may be stressed or damaged. Identify the type of threaded brass fitting (e.g., NPT, BSPT) to ensure compatibility with sealing materials.
Assess the condition of the threaded brass fitting. Check for any visible damage, such as cracks, corrosion, or thread damage. Ensure the threads are clean and undamaged before attempting to seal. Determine if the leak is due to improper sealing, loose connection, or damaged threads. This assessment is critical for selecting the appropriate repair method and preventing future leaks.
Step 2. Prepare the Fitting and Threads
Before attempting any repairs, thoroughly clean the threaded brass fitting and surrounding pipes. Remove any dirt, debris, or old sealant that could interfere with the new seal. Use a clean cloth or brass brush to ensure the surfaces are free from contaminants. If necessary, lightly sand the threads to create a better bonding surface for sealants or tapes.
Disassemble the fitting if possible to clean the threads thoroughly. Inspect the threads for any damage or deformation. Ensure the threads are dry and free from any moisture or oil before applying sealant or tape. Proper preparation ensures a strong and lasting seal.
Step 3. Apply the Appropriate Sealing Method
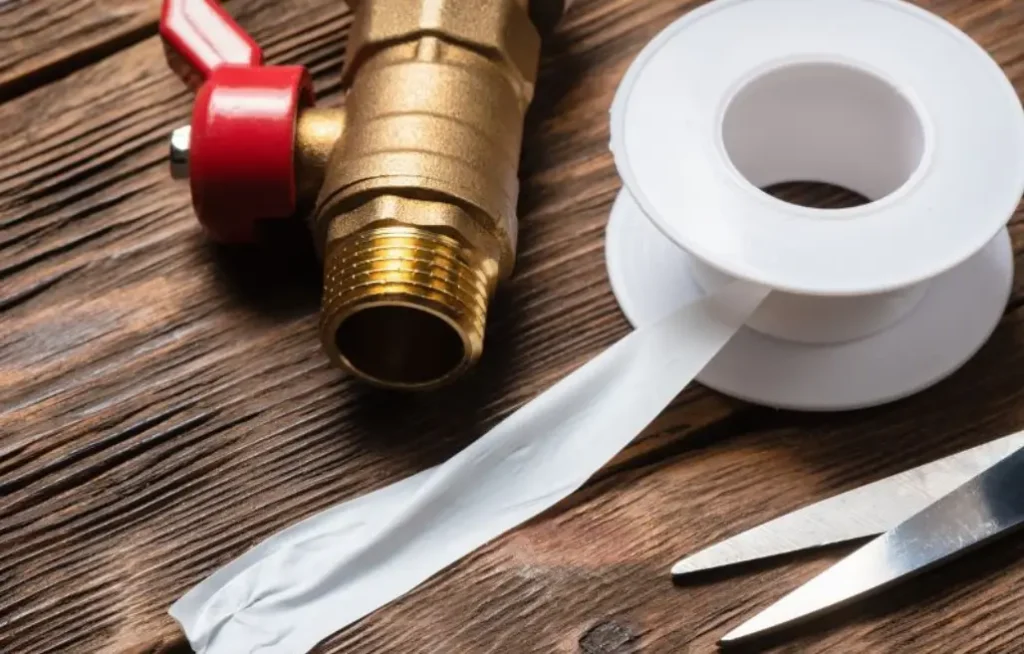
For threaded brass fittings, apply fresh Teflon tape or thread sealant to the male threads. Wrap Teflon tape clockwise, ensuring it covers all threads. Apply thread sealant evenly, following the manufacturer’s instructions. Ensure the sealant or tape is compatible with brass to prevent corrosion.
When applying Teflon tape, ensure it is wrapped tightly and evenly around the threads to create a proper seal. When applying thread sealant, ensure it is applied evenly and covers all threads to prevent leaks. Follow the manufacturer’s instructions for curing time before pressurizing the system. Proper application of the sealing method ensures a reliable and leak-free connection.
Step 4. Test the Repaired Fitting
After applying the sealing method, test the repaired threaded brass fitting to ensure the leak is resolved. Reassemble the system and pressurize it to the operating pressure. Carefully inspect the fitting and surrounding area for any signs of leaks. Use a dry cloth to check for moisture or fluid seepage. If a leak persists, re-evaluate the repair and consider alternative sealing methods or fitting replacement.
If the fitting holds pressure without leaks, run the system under normal operating conditions for a period of time to ensure the repair’s durability. Monitor the fitting for any signs of leakage or deterioration. Proper testing and monitoring are essential to verify the repair’s effectiveness and prevent future leaks.
How to Prevent Brass Fitting Leaks
Preventing brass fitting leaks involves a combination of proper installation, maintenance, and material selection. Here’s a comprehensive guide on how to minimize the risk of leaks in brass fittings:
Step 1. Proper Installation Techniques
Ensure that brass fittings are installed correctly from the outset. Use appropriate tools and techniques to avoid damaging the fittings or threads. When tightening threaded fittings, use a torque wrench to apply the recommended torque. Over-tightening can damage the threads or fitting body, while under-tightening can lead to leaks. For compression or flared fittings, ensure proper alignment and follow the manufacturer’s instructions for assembly.
Use appropriate thread sealants or Teflon tape for threaded connections. Apply sealants or tape evenly and in the correct direction to ensure a proper seal. Ensure the sealing material is compatible with brass and the fluids or gases being conveyed. Proper installation is the foundation for leak prevention.
Step 2. Regular Inspection and Maintenance
Conduct regular inspections of brass fittings and surrounding pipes to identify potential leaks or damage early. Look for signs of corrosion, cracks, or loose connections. Tighten any loose fittings and replace damaged components promptly. Clean the fittings and pipes regularly to remove dirt, debris, or old sealant that could interfere with the seal.
Monitor the system’s operating conditions, such as pressure and temperature, to ensure they remain within the fittings’ specifications. Extreme conditions can degrade sealing materials and lead to leaks. Regular maintenance and monitoring extend the lifespan of brass fittings and prevent costly leaks.
Step 3. Material Selection and Compatibility
Choose high-quality brass fittings that meet industry standards and specifications. Ensure the fittings are made from materials compatible with the fluids or gases being conveyed. Avoid using dissimilar metals in the system, as this can lead to galvanic corrosion and leaks. Select appropriate sealing materials, such as thread sealants or O-rings, that are compatible with brass and the operating environment.
Consider the operating environment when selecting brass fittings. For corrosive environments, choose brass alloys with higher corrosion resistance. For high-temperature applications, select fittings designed to withstand the operating temperature. Proper material selection ensures long-term reliability and prevents leaks.
Step 4. System Design and Operating Conditions
Design the fluid transfer system to minimize stress on brass fittings. Avoid sharp bends, excessive vibrations, or pressure surges that can damage fittings or connections. Ensure the system is properly supported to prevent excessive strain on fittings. Monitor the system’s operating conditions, such as pressure and temperature, to ensure they remain within the fittings’ specifications.
Implement pressure relief valves and surge suppressors to protect the system from pressure spikes. Use flexible connectors or hoses to absorb vibrations and thermal expansion. Proper system design and operating conditions minimize the risk of leaks and extend the lifespan of brass fittings.
Conclusion
In summary, sealing brass fittings effectively involves proper identification of the leak source, thorough preparation, and precise application of appropriate sealing methods. Regular inspections and maintenance are crucial for preventing future leaks. Understanding the fitting type and using compatible sealants ensures long-term reliability.
Effective sealing techniques minimize fluid loss and prevent costly damage. Whether using thread sealants, compression fittings, or epoxy, proper application is essential. Addressing leaks promptly maintains system pressure and efficiency. Material compatibility and environmental considerations play a vital role in preventing leaks.
For high-quality wholesale brass hydraulic fittings, tailored to your industrial needs, contact DF Hydraulics today for a quote. We offer a comprehensive range of fittings and sealing solutions. Partner with us for reliable and efficient fluid transfer systems. Get in touch to discuss your requirements and benefit from our expert services.


