Bulkhead fittings are essential components in various applications, from marine and industrial settings to plumbing and HVAC systems. These fittings allow for the passage of fluids or gases through a bulkhead or wall while maintaining a watertight or airtight seal. Installing a bulkhead fitting correctly is crucial to ensure the integrity and safety of the system.
This comprehensive guide will provide you with a step-by-step approach to installing a bulkhead fitting, covering essential considerations and best practices for a successful installation.
Whether you’re a seasoned professional or a DIY enthusiast, this guide will equip you with the knowledge and confidence to install bulkhead fittings accurately and efficiently. We’ll cover everything from selecting the right fitting for your application to proper sealing techniques and essential safety precautions.
Let’s dive in and explore the intricacies of bulkhead fitting installation.
What Are Hydraulic Bulkhead Fittings
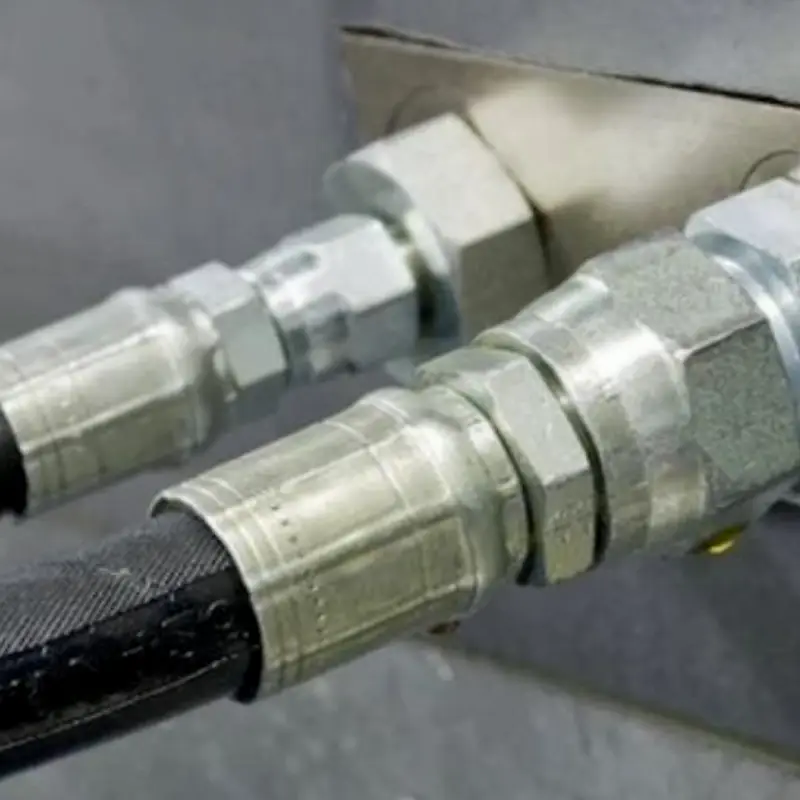
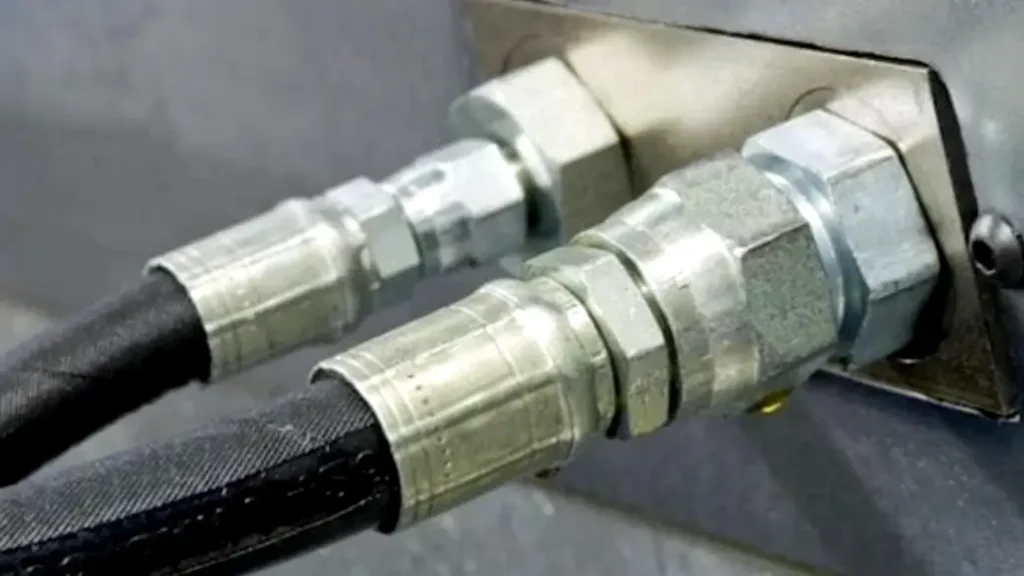
Hydraulic bulkhead fittings are specialized connectors designed to facilitate the passage of fluids and gases through a barrier, such as the wall of a tank or a pressure vessel. These fittings act as a bridge between components within the pressurized environment and external components in the hydraulic system.
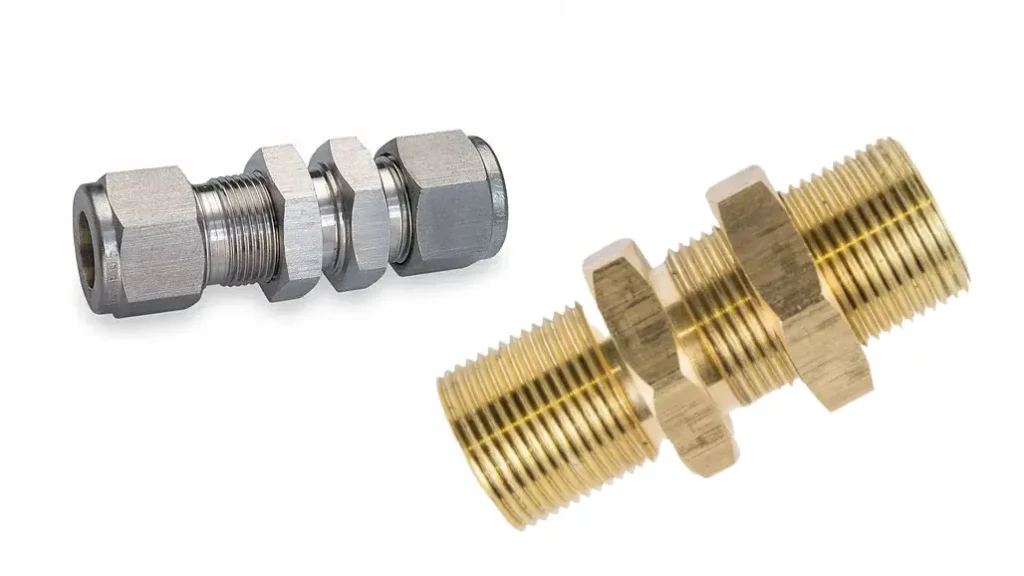
They are crucial in various industries, including marine, aerospace, and industrial applications, where maintaining fluid integrity and pressure containment is paramount. Bulkhead fittings are typically constructed from corrosion-resistant materials like stainless steel or brass, ensuring durability and compatibility with different fluids and operating environments.
How to Install Bulkhead Fittings
A bulkhead fitting is a specialized connector that allows for the passage of fluids or gases through a barrier, such as the wall of a tank or vessel. Installing a bulkhead fitting requires careful attention to detail to ensure a secure and leak-free connection.
Here are Bulkhead Fitting Installation Instructions to help you the whole process of installing a bulkhead fitting in the following:
Step 1: Prepare the Bulkhead and the Fitting
Before beginning the installation, it’s crucial to ensure proper preparation of both the bulkhead and the fitting itself.
- Cleanliness is paramount: Thoroughly clean the area on the bulkhead where the fitting will be installed. Remove any debris, rust, or paint that may interfere with a secure seal. Use a suitable solvent or abrasive material to achieve a clean and smooth surface.
- Inspect the fitting: Carefully inspect the fitting for any damage, such as cracks, burrs, or deformation. Discard any damaged fittings. Ensure all threads are clean and free of debris. If necessary, use a thread chaser to clean and restore the threads to their original condition.
- Choose the right sealant: Select an appropriate sealant based on the specific application and the fluids being handled. Consider factors such as temperature extremes, chemical compatibility, and pressure requirements. Consult the sealant manufacturer‘s guidelines for compatibility and application instructions.
Proper preparation is essential for a successful and leak-free installation. By taking the time to clean and inspect both the bulkhead and the fitting, you can minimize the risk of leaks and ensure the long-term integrity of the system.
Step 2: Mark and Drill the Bulkhead Hole
Accurate hole placement is critical for a successful installation.
- Precise marking: Use a template or the fitting itself as a guide to accurately mark the location of the hole on the bulkhead. Ensure the marking is centered and aligned correctly.
- Choose the right drill bit: Select a drill bit with a diameter slightly smaller than the fitting’s threaded portion. This will allow for a snug fit and prevent the fitting from being forced into the hole, which could damage the threads.
- Drill carefully: Drill the hole slowly and steadily, avoiding excessive force that could cause the drill bit to wander or damage the bulkhead. Use a suitable coolant or lubricant to minimize friction and heat buildup.
- Deburr the hole: After drilling, carefully deburr the edges of the hole to remove any sharp edges or burrs that could interfere with the fitting’s installation or damage the sealant. Use a deburring tool or fine-grit sandpaper to achieve a smooth and clean edge.
Accurate hole placement and proper drilling techniques are essential for a secure and leak-free installation. By taking the time to mark and drill the hole correctly, you can minimize the risk of leaks and ensure the long-term integrity of the system.
Step 3: Apply Sealant and Install the Fitting
Applying the sealant correctly is crucial for a leak-proof seal.
- Prepare the sealant: Follow the sealant manufacturer‘s instructions for preparation and application. Ensure the sealant is mixed thoroughly and applied evenly to the threads of the fitting.
- Hand-tighten the fitting: Carefully hand-tighten the fitting into the bulkhead hole. Avoid using excessive force, as this could damage the threads or distort the fitting.
- Torque the fitting: Once the fitting is hand-tightened, use a torque wrench to tighten it to the manufacturer‘s specified torque value. Refer to the fitting’s installation instructions for the recommended torque value.
- Inspect for leaks: After tightening the fitting, inspect for any leaks. Apply a light film of soapy water around the base of the fitting and look for any bubbles. If any leaks are detected, carefully loosen the fitting, reapply sealant, and retighten to the correct torque.
By following these steps carefully and using the appropriate sealant and tightening procedures, you can ensure a secure and leak-free installation of the bulkhead fitting.
Step 4: Perform a Pressure Test
Performing a pressure test is essential to verify the integrity of the installation.
- Isolate the system: Isolate the section of the system containing the newly installed fitting from the rest of the hydraulic system.
- Apply pressure: Gradually increase the pressure within the isolated section to the maximum operating pressure.
- Inspect for leaks: Carefully inspect all connections, including the bulkhead fitting, for any signs of leaks. Use soapy water or leak detection fluid to aid in the inspection process.
- Maintain pressure: Hold the pressure for a specified period to ensure the seal remains intact under pressure.
- Release pressure: Slowly release the pressure within the system.
By performing a thorough pressure test, you can ensure the integrity of the installation and identify any potential leaks before putting the system into full operation.
Remember: Always consult the our hydraulic fitting manufacturer’s instructions for specific installation and safety guidelines. If you are unsure about any aspect of the installation process, consult with a qualified professional.
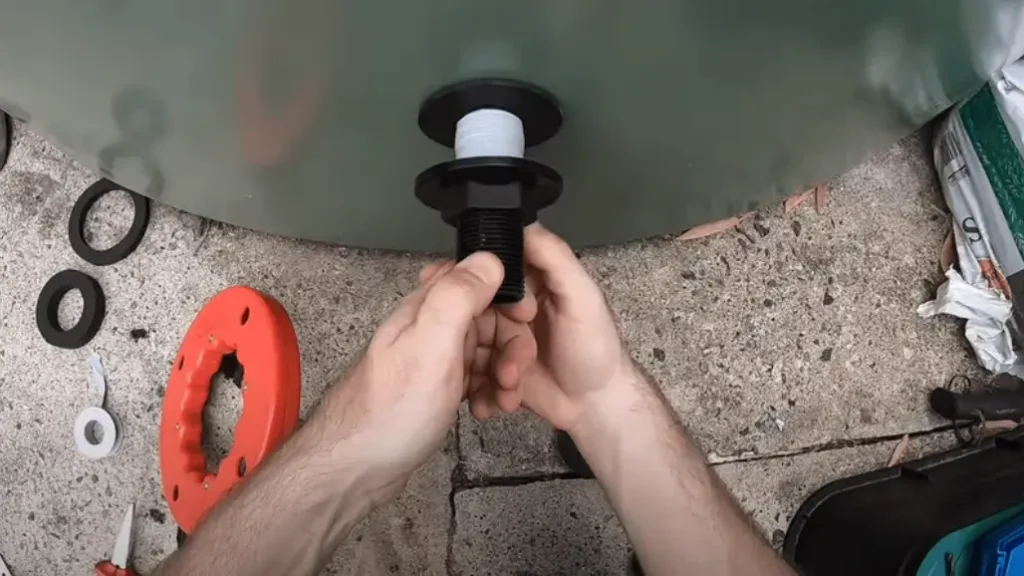
How to Install Bulkhead Fitting in Tank

Installing a Bulkhead Fitting in a Tank
Here’s a step-by-step guide on how to install a bulkhead fitting in a tank:
1. Preparation
- Safety First: Ensure the tank is empty and properly ventilated. Wear appropriate safety gear, such as gloves and safety glasses.
- Choose the Right Fitting: Select a bulkhead fitting that is compatible with the tank material, the fluid being handled, and the operating pressure.
- Determine the Location: Plan the location of the fitting carefully, considering factors such as accessibility, proximity to other components, and structural integrity of the tank.
- Gather Tools: Assemble the necessary tools, including a drill, appropriate drill bits, a hole saw (if required), a torque wrench, sealant, and any necessary cleaning supplies.
2. Mark and Drill the Hole
- Mark the Location: Use a marker or a template to accurately mark the center point of the hole on the tank wall.
- Drill a Pilot Hole: If necessary, drill a small pilot hole to guide the larger drill bit.
- Drill the Main Hole: Use a hole saw or a series of drill bits to carefully drill the hole to the required diameter. Ensure the hole is clean and free of burrs.
3. Prepare and Install the Fitting
- Clean the Surfaces: Clean the threads of the fitting and the surrounding area on the tank wall with a suitable solvent.
- Apply Sealant: Apply a thin, even bead of sealant to the threads of the fitting.
- Insert the Fitting: Carefully insert the fitting through the hole in the tank wall, ensuring the gasket (if provided) is properly positioned.
- Tighten the Fitting: Hand-tighten the fitting securely. Then, using a torque wrench, tighten the fitting to the manufacturer‘s recommended torque specifications.
4. Test for Leaks
- Pressurize the Tank: Gradually pressurize the tank to the maximum operating pressure.
- Inspect for Leaks: Carefully inspect all connections, including the bulkhead fitting, for any signs of leaks. Use soapy water to help identify leaks.
- Address Any Leaks: If any leaks are found, carefully loosen the fitting, reapply sealant, and retighten to the correct torque.
5. Final Checks
- Inspect the Installation: Perform a final visual inspection to ensure the fitting is securely installed and there are no signs of damage or leaks.
- Clean Up: Clean up any remaining sealant or debris.
Important Notes:
- Always refer to the manufacturer‘s instructions for specific installation guidelines and safety precautions.
- If you are unsure about any aspect of the installation process, consult with a qualified professional.
- Use caution when working with pressurized systems.
By following these steps carefully, you can ensure a safe and secure installation of your bulkhead fitting.
How to Install Bulkhead Fittings in Aquarium
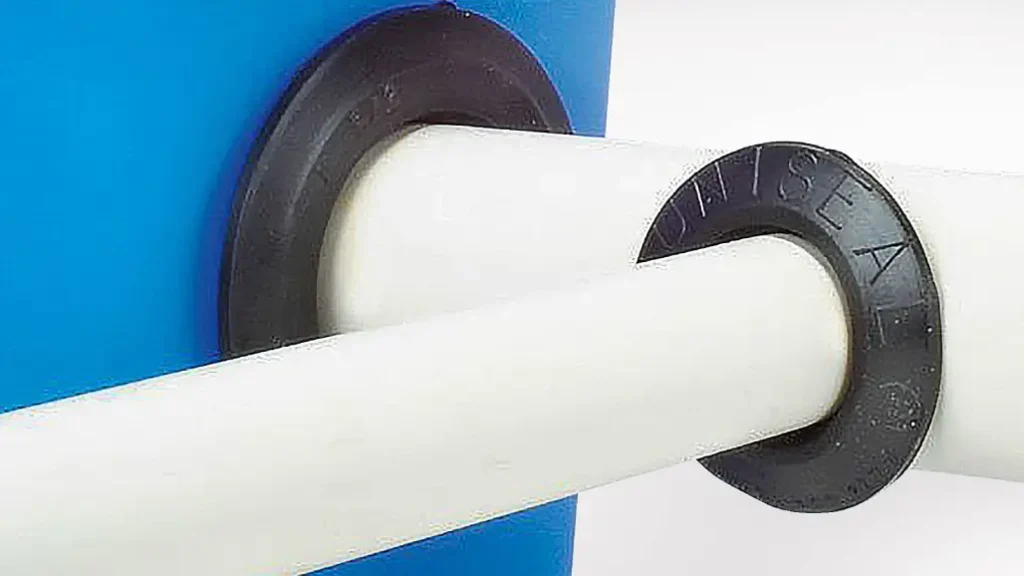
Installing Bulkhead Fittings in an Aquarium
1. Preparation
- Safety First: Always disconnect any power to the aquarium equipment before working on it. Wear appropriate safety gear, such as gloves and safety glasses.
- Choose the Right Fitting: Select bulkhead fittings specifically designed for aquarium use. These are typically made of non-toxic materials like PVC or acrylic.
- Determine the Location: Plan the location of the fittings carefully, considering the placement of equipment (e.g., filters, pumps) and the flow of water within the aquarium.
- Gather Tools: Assemble the necessary tools, including a drill, appropriate drill bits (often hole saws are used), a torque wrench (if applicable), sealant (aquarium-safe silicone), and any necessary cleaning supplies.
- Prepare the Tank: If possible, lower the water level in the aquarium to minimize the amount of water displaced during the installation.
2. Mark and Drill the Hole
Mark the Location: Use a marker or a template to accurately mark the center point of the hole on the aquarium glass.
Drill the Hole:
- Use a Hole Saw: This is the most common method. Choose a hole saw slightly larger than the diameter of the bulkhead fitting.
- Drill Slowly and Carefully: Apply light pressure and use a coolant (like water) to prevent overheating of the glass.
- Clean the Hole: Remove any glass shards or debris from the hole.
3. Prepare and Install the Fitting
- Clean the Surfaces: Clean the threads of the fitting and the surrounding area on the aquarium glass with isopropyl alcohol.
- Apply Sealant: Apply a thin, even bead of aquarium-safe silicone sealant around the edge of the hole on the outside of the aquarium.
- Insert the Fitting: Carefully insert the bulkhead fitting through the hole from the inside of the aquarium.
- Tighten the Fitting:
- Hand-tighten: Gently hand-tighten the nut on the outside of the aquarium to secure the fitting.
- Torque Wrench (if applicable): If the fitting has a specified torque value, use a torque wrench to tighten it to the recommended specifications.
4. Test for Leaks
- Fill the System: Slowly refill the aquarium with water.
- Inspect for Leaks: Carefully inspect the area around the bulkhead fitting for any signs of leaks. Look for any drips or bubbles.
- Address Any Leaks: If any leaks are found, carefully loosen the fitting, reapply sealant, and retighten.
5. Final Checks
- Inspect the Installation: Perform a final visual inspection to ensure the fitting is securely installed and there are no signs of leaks.
- Monitor for Leaks: Observe the aquarium for several hours to ensure no leaks develop.
Important Notes:
- Always test the system thoroughly before adding any fish or other aquatic life.
- If you are unsure about any aspect of the installation process, consult with an experienced aquarist or a professional aquarium maintenance service.
- Safety first: Always prioritize safety and avoid any situations that could cause injury or damage to the aquarium.
Banjo Bulkhead Fitting Installation
Banjo bulkhead fittings are commonly used in automotive and other fluid power systems. They offer a compact and leak-resistant connection for hydraulic lines.
Here’s a general guide to how to install banjo bulkhead hydraulic fittings in the following:
1. Preparation
- Safety First: Always prioritize safety. Wear appropriate safety gear, such as safety glasses and gloves. Ensure the system is depressurized and isolated from the fluid source.
- Select the Correct Fitting: Choose a banjo fitting with the appropriate thread sizes and dimensions to match the system components.
- Prepare the Components: Clean all components thoroughly to remove any debris or contaminants.
- Gather Tools: Assemble the necessary tools, including wrenches of the appropriate size for the fitting nuts and bolts.
2. Install the Banjo Bolt
- Insert Bolt: Insert the banjo bolt through the fitting body.
- Attach Hose: Connect the hydraulic hose to the banjo bolt.
- Tighten the Bolt: Tighten the banjo bolt to the specified torque value. Refer to the manufacturer‘s instructions for the correct torque setting.
3. Install the Fitting in the Bulkhead
- Apply Sealant (if applicable): If required, apply a thin, even bead of sealant to the threads of the fitting.
- Insert the Fitting: Carefully insert the fitting into the prepared hole in the bulkhead.
- Tighten the Fitting: Hand-tighten the fitting nut securely. Then, use a wrench to tighten the nut to the manufacturer‘s recommended torque specifications.
4. Check for Leaks
- Pressurize the System: Gradually pressurize the system to the operating pressure.
- Inspect for Leaks: Carefully inspect all connections, including the banjo fitting, for any signs of leaks. Use soapy water to help identify leaks.
- Address Any Leaks: If any leaks are found, carefully loosen the fitting, reapply sealant if necessary, and retighten to the correct torque.
5. Final Inspection
- Visual Inspection: Perform a final visual inspection to ensure the fitting is securely installed and there are no signs of damage or leaks.
- Functional Test: Operate the system and monitor its performance to ensure proper functionality and the absence of any leaks.
Important Notes:
- Always consult the manufacturer‘s instructions for specific installation procedures and torque specifications.
- Use caution when working with pressurized systems.
- If you are unsure about any aspect of the installation process, consult with a qualified professional.
This guide provides a general overview of banjo bulkhead fitting installation. Always prioritize safety and adhere to all relevant safety guidelines and industry standards.
Conclusion
In conclusion, installing bulkhead fittings may seem daunting at first, but by following these step-by-step instructions carefully, you can ensure a secure and leak-free installation. Remember to choose the right size and type of fitting for your specific application and always prioritize safety during the installation process.
Properly installed bulkhead fittings play a crucial role in various applications, from marine and industrial systems to hydraulic and pneumatic circuits.
Ready to streamline your operations with high-quality bulkhead fittings? Contact us today to explore our extensive inventory of wholesale bulkhead hydraulic fittings. We offer a wide range of fittings to suit your specific needs and provide expert guidance on selecting the right components for your application. Experience the difference that reliable and durable fittings can make in your projects.


