Brake line fitting repair is a critical skill for any vehicle owner or mechanic. Damaged or leaking fittings can compromise your braking system, leading to dangerous situations. This blog will guide you through the essential steps and techniques for repairing brake line fittings, ensuring your vehicle’s safety and performance.
We’ll cover common issues like stripped threads, corrosion, and leaks, and provide practical solutions for each. Whether you’re dealing with a minor leak or a major fitting failure, understanding the repair process can save you time and money. We’ll also discuss the necessary tools and materials, as well as safety precautions to take during the repair.
What Are Brake Line Fittings
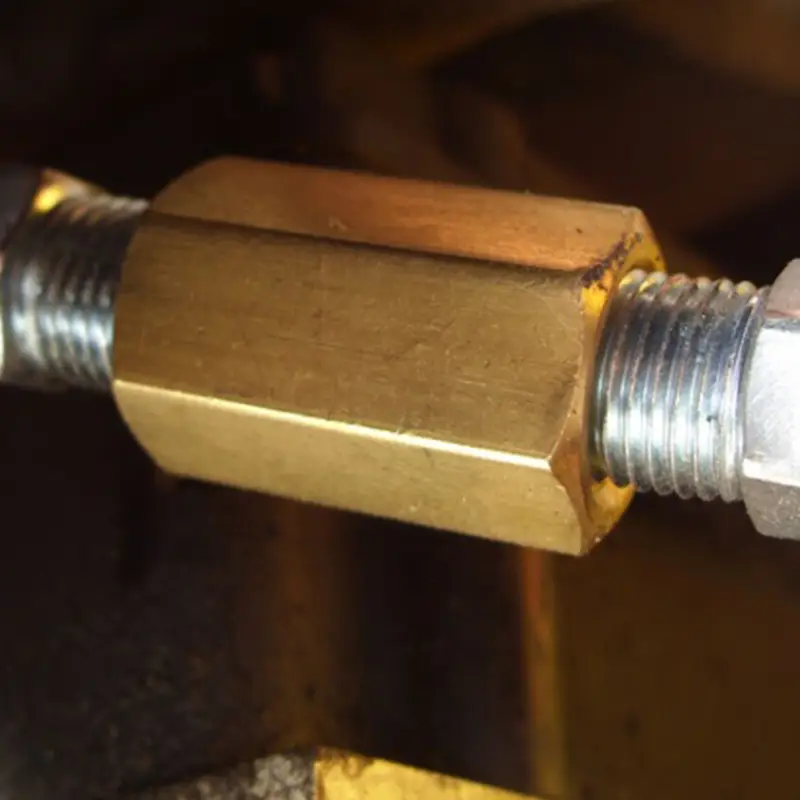
Brake line fittings are essential components in a vehicle’s braking system, serving as the connection points between brake lines and other parts like the master cylinder, calipers, and wheel cylinders. They are designed to withstand the high pressures generated within the hydraulic brake system, ensuring that the force applied to the brake pedal is effectively transferred to the brakes themselves. Without these fittings, the brake fluid would leak, rendering the braking system ineffective.
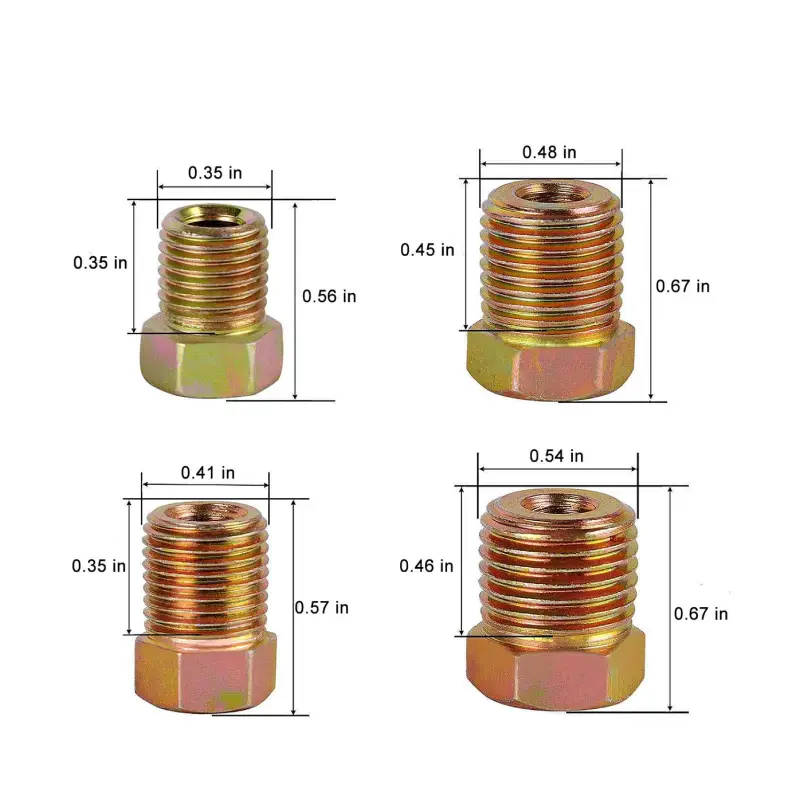
These fittings come in various types and sizes, each designed to meet specific application requirements. They are typically made from durable materials like steel, brass, or stainless steel to resist corrosion and withstand the harsh conditions within a braking system. The integrity of these fittings is paramount for safe vehicle operation, as any failure can lead to brake fluid leaks and compromised braking performance.
Brake Line Fitting Repair
Repairing brake line fittings is a critical task that ensures your vehicle’s braking system functions safely and effectively. Whether dealing with leaks or damaged threads, proper repair techniques are essential. This guide outlines the steps for effective brake line fitting repair, emphasizing safety and precision.
Step 1: Inspect the Brake Line Fitting Damage
Begin by thoroughly inspecting the brake line fitting and surrounding area. Identify the source of the leak or damage, checking for corrosion, cracks, or stripped threads. Determine if the damage is localized to the fitting or extends to the brake line itself. This initial assessment guides the repair approach and helps determine if replacement is necessary.
A careful inspection is essential for accurate diagnosis. Look for signs of wear, such as rust or pitting, which indicate corrosion. Check for physical damage, like dents or breaks, that may compromise the fitting’s integrity. Assess the condition of the brake line itself, as damage there might necessitate replacing the entire line. Knowing the extent of the damage ensures that the correct brake line repair fittings are used.
Step 2: Choose the Repair Method
Select the appropriate repair method based on the damage’s severity and location. For minor thread damage, a thread chaser or tap may suffice. For leaks or significant damage, replacing the fitting or a section of the brake line is necessary. Consider using compression fittings for temporary repairs or flaring tools for permanent fixes.
The chosen repair method must address the specific issue effectively. Thread repair tools can restore damaged threads, ensuring a secure connection. Compression fittings offer a quick solution for leaks but are not ideal for high-pressure systems. Flaring tools enable the creation of new flares on brake lines, providing a permanent and reliable repair. Using the correct brake line repair fittings ensures the system’s integrity.
Step 3: Perform the Repair
If repairing threads, use a thread chaser or tap to restore the threads to their original condition. For fitting replacement, disconnect the brake line, remove the damaged fitting, and install a new one. If flaring, use a flaring tool to create a new flare on the brake line end. Ensure all connections are tightened to the manufacturer’s specifications.
When replacing fittings, ensure compatibility with the brake line and system requirements. Proper tightening prevents leaks and maintains system pressure. Flaring requires precision to create a secure, leak-free connection. Follow the tool’s instructions carefully to avoid damaging the brake line. The correct brake line repair fittings, and tools, are essential for a successful repair.
Step 4: Test the Brake Line Fitting Repair
After completing the repair, thoroughly test the braking system for leaks and proper function. Apply pressure to the brake pedal and inspect all connections for leaks. If possible, perform a pressure test to ensure the system can withstand the maximum operating pressure. Verify that the brakes engage and disengage smoothly and effectively.
Testing is crucial to confirm the repair’s effectiveness and ensure safety. Check for leaks under pressure, as this simulates real-world conditions. Verify that the brakes respond correctly and that the vehicle stops safely. A successful test confirms the integrity of the brake line repair fittings, and the brake line repair.
Brake Line Fitting Damage Reasons
Brake line fittings, while designed for durability, can succumb to damage over time, compromising the integrity of your vehicle’s braking system. Understanding the common reasons for fitting damage can help in preventative maintenance and timely repairs. Here are some of the primary causes:
Corrosion
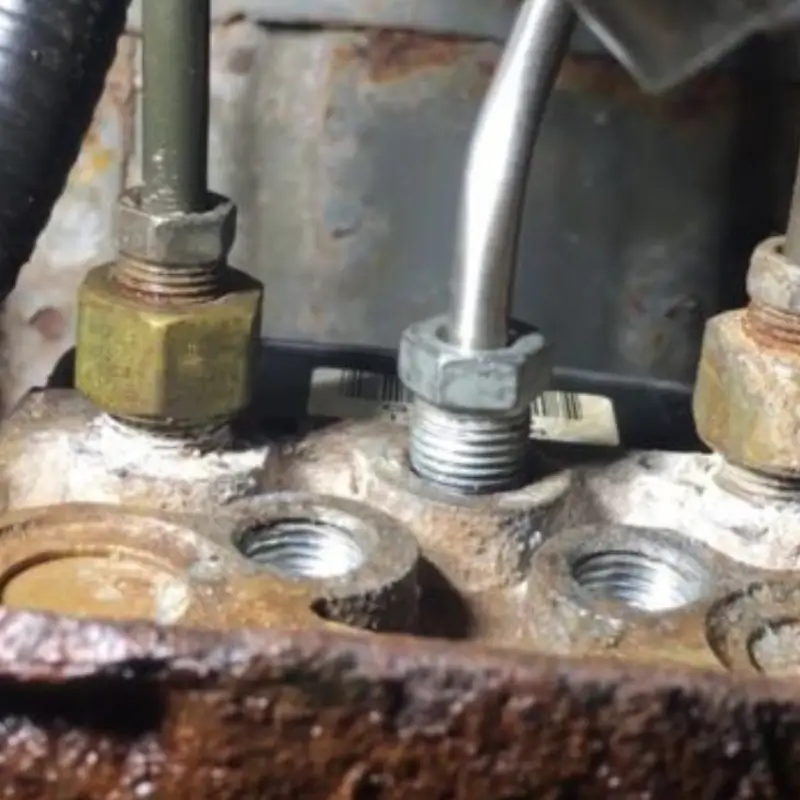
Corrosion is a significant culprit in brake line fitting damage, particularly in vehicles exposed to harsh environmental conditions. Road salt, moisture, and debris can accelerate the corrosion process, causing fittings to weaken and develop leaks. Over time, this corrosion can lead to complete fitting failure, compromising the braking system’s effectiveness.
Physical Damage
Physical damage from impacts, road debris, or improper installation can also lead to brake line fitting failures. Collisions, even minor ones, can bend or break fittings, creating leaks and compromising the seal. Additionally, incorrect installation practices, such as over-tightening or cross-threading, can damage the threads and result in leaks.
Wear and Tear
General wear and tear is another factor contributing to brake line fitting damage. Constant exposure to vibrations, temperature fluctuations, and hydraulic pressure can gradually weaken the fittings. Over time, this can lead to cracks, leaks, and eventual failure. Regular inspections and maintenance can help identify and address wear and tear before it becomes a critical issue.
How to Fix Leaking Brake Line Fitting

Dealing with leaking brake line fittings is a critical repair that directly impacts your vehicle’s safety. Understanding how to fix leaking brake line fittings promptly and correctly is crucial to prevent brake failure. This guide outlines the essential steps to address this issue effectively.
Step 1: Identify the Leak Source
Begin by carefully inspecting the brake line fitting and surrounding area. Look for signs of brake fluid leakage, such as wet spots or drips. Check for corrosion, cracks, or loose connections. Determine the precise location of the leak to guide your repair efforts. This initial assessment is crucial for effective repair.
Accurate identification of the leak source is vital. You must pinpoint the exact location to avoid unnecessary repairs. Check all connections, including where the brake line meets the master cylinder, calipers, and wheel cylinders. Inspect for damage to the fitting or brake line itself. Knowing where the leak originates allows you to focus your efforts and use the correct methods to know how to fix leaking brake line fittings.
Step 2: Prepare for Repair
Before attempting any repair, ensure the vehicle is safely supported and the braking system is depressurized. Gather the necessary tools and materials, including wrenches, brake fluid, and replacement fittings if needed. Clean the area around the fitting to prevent contaminants from entering the braking system. This preparation is essential for a clean and effective repair.
You should always prioritize safety when working on your vehicle’s braking system. Depressurizing the system prevents fluid from spraying out under pressure, which can be dangerous. Cleaning the area around the fitting is crucial to avoid introducing dirt or debris into the system, which can compromise its performance. Having the right tools and replacement parts on hand ensures a smooth and efficient repair process, helping you learn how to fix leaking brake line fittings properly.
Step 3: Repair or Replace the Fitting
Depending on the extent of the damage, you may need to either repair or replace the leaking fitting. For minor leaks due to loose connections, tighten the fitting with a wrench. If the fitting is corroded or damaged, replace it with a new one. Ensure the replacement fitting is compatible with your brake line and system requirements. Follow the manufacturer’s instructions for proper installation.
Repairing or replacing the fitting requires precision and attention to detail. When tightening a loose fitting, use the correct torque to avoid over-tightening, which can damage the threads. If replacing the fitting, ensure the new one matches the specifications of the old one to maintain system integrity. Proper installation techniques, as outlined by the manufacturer, are crucial for a leak-free connection. Learning how to fix leaking brake line fittings correctly is essential for safe vehicle operation.
Step 4: Test the Repair
After completing the repair, thoroughly test the braking system for leaks and proper function. Apply pressure to the brake pedal and inspect all connections for any signs of leakage. If possible, perform a pressure test to ensure the system can withstand the maximum operating pressure. Verify that the brakes engage and disengage smoothly and effectively. This testing is crucial to ensure the repair’s success.
Testing is the final and most critical step. You must confirm that the repair has eliminated the leak and that the braking system functions correctly. Check for leaks under pressure, as this simulates real-world driving conditions. Verify that the brake pedal feels firm and that the vehicle stops safely. A successful test confirms that you have properly learned how to fix leaking brake line fittings, and that your vehicle is safe to drive.
How to Fix a Brake Line With a Compression Fitting
Fixing a brake line with a compression fitting offers a quick, temporary solution for leaks, especially in emergency situations. However, it’s crucial to understand that compression fittings are generally not recommended for long-term use in high-pressure braking systems. This guide outlines the steps for fixing a brake line using compression fittings.
Step 1: Prepare the Brake Line
Begin by cleaning the damaged section of the brake line and cutting it cleanly with a tubing cutter. Ensure the cut is square and free of burrs, as this affects the compression fitting’s seal. Remove any rust or corrosion from the line to ensure a proper fit. Proper preparation minimizes the risk of leaks and ensures the compression fitting functions effectively.
A clean, square cut is essential for a secure connection. Burrs or uneven cuts can prevent the compression sleeve from seating properly, leading to leaks. Removing rust and corrosion ensures the compression fitting grips the line firmly. This step is crucial for the brake line repair fittings to function correctly.
Step 2: Install the Compression Fitting
Slide the compression nut and sleeve onto each end of the cut brake line. Ensure the sleeve is positioned correctly and that the nut threads are facing outward. Insert the brake line ends into the compression fitting, ensuring they are fully seated. Tighten the nuts by hand initially, then use wrenches to tighten them to the manufacturer’s specified torque.
Proper installation is critical for a leak-free connection. The compression sleeve must be correctly positioned to compress evenly around the brake line. Over-tightening can damage the brake line or fitting, while under-tightening can lead to leaks. Use a torque wrench to achieve the correct tightness, ensuring a secure seal. The brake line repair fittings must be installed correctly for proper operation.
Step 3: Test the Repair
After installing the compression fitting, thoroughly test the brake line for leaks. Apply pressure to the brake pedal and inspect the connection for any signs of leakage. If possible, perform a pressure test to ensure the system can withstand the maximum operating pressure. Verify that the brakes engage and disengage smoothly and effectively.
Testing is crucial to confirm the repair’s effectiveness and ensure safety. Check for leaks under pressure, as this simulates real-world conditions. Verify that the brakes respond correctly and that the vehicle stops safely. A successful test confirms the integrity of the compression fitting repair. It is important to remember that compression fittings should be viewed as a temporary repair, and not a permanent fix.
Conclusion
In conclusion, effectively repairing brake line fittings is crucial for maintaining vehicle safety and preventing costly system failures. Understanding the different types of fittings and employing proper repair techniques ensures reliable, leak-free connections. Timely repairs prevent further damage and maintain optimal braking performance.
Choosing the right repair method, whether flaring or using compression fittings, depends on the extent of damage and available tools. Prioritizing high-quality replacement parts and adhering to manufacturer specifications enhances repair longevity. Regular inspections and preventative maintenance further contribute to a safe and efficient braking system.
For high-quality wholesale hydraulic fittings, including brake line fittings, tailored to your specific needs, request a quote from DF Hydraulics today. We offer a comprehensive range of durable and reliable fittings, ensuring secure and efficient connections. Get in touch to discuss your requirements and benefit from our expert services.


