Push-lock fittings offer a quick and reliable way to connect pipes without soldering or threading. Their simplicity makes them popular for plumbing, air lines, and other fluid transfer systems. Installing them correctly ensures a leak-free seal and optimal performance.
This guide will walk you through the essential steps, from preparing your pipes to securely engaging the fitting. We’ll cover crucial aspects like proper pipe cutting, deburring, and insertion techniques, empowering you to confidently tackle your project.
What Are Push Lock Fittings

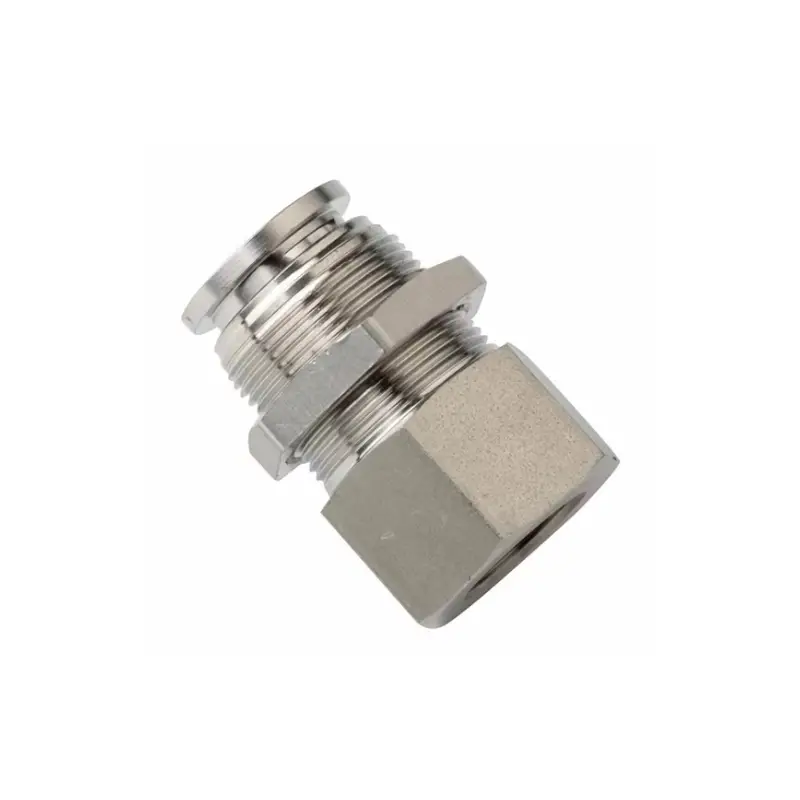
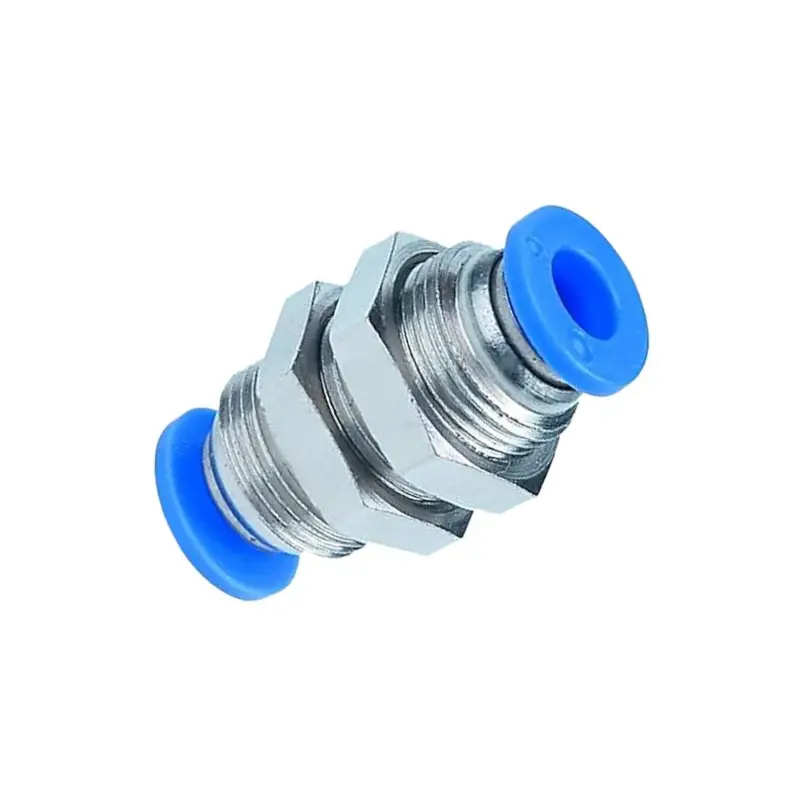
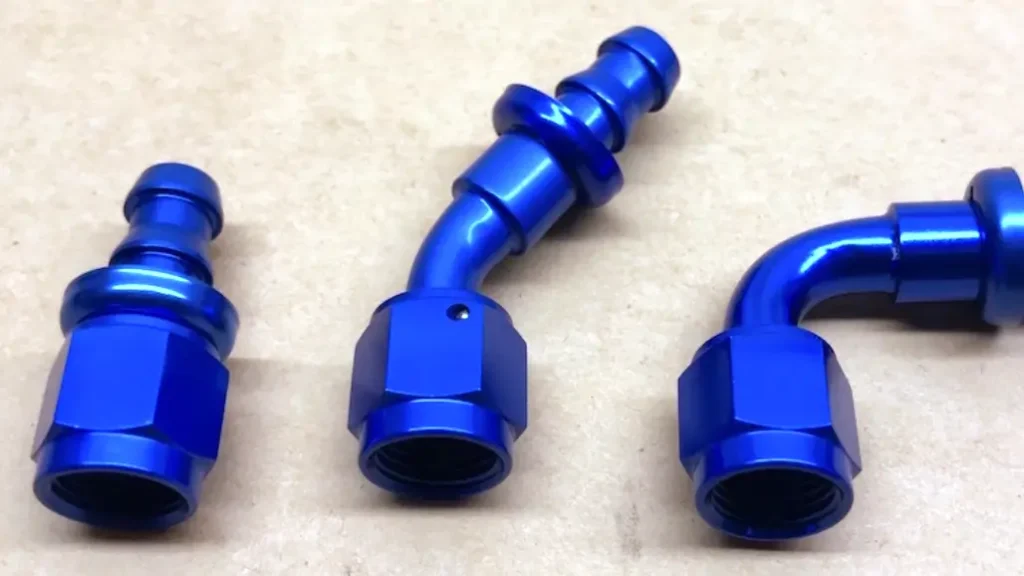
Push lock fittings, also known as push-to-connect fittings, are specialized connectors designed for quick and easy assembly of hoses and tubing, particularly in hydraulic and pneumatic systems. They eliminate the need for traditional tools like wrenches, relying instead on a simple push-in mechanism to create a secure, leak-proof seal.
Their internal design typically incorporates barbs or teeth that grip the hose or tube when inserted, while an O-ring or other sealing element prevents fluid or gas leakage. This design allows for rapid installation and removal, making them ideal for applications requiring frequent adjustments or repairs. Push lock fittings are commonly used in various industries, including automotive, industrial, and agricultural, due to their efficiency and reliability.
How to Install Push Lock Fittings?
Push lock fittings offer a rapid and reliable solution for hose connections, simplifying hydraulic and pneumatic system assembly. This guide provides a detailed, step-by-step process for proper installation, ensuring a secure and leak-free connection.
Step 1: Prepare the Hose and Fitting
Prior to installation, cleanliness and precision are key. Begin by thoroughly inspecting both the hose and the push lock fitting for any signs of damage or debris. Contaminants can compromise the seal, leading to leaks and system failures. A clean, undamaged hose and fitting are essential for a successful and reliable connection.
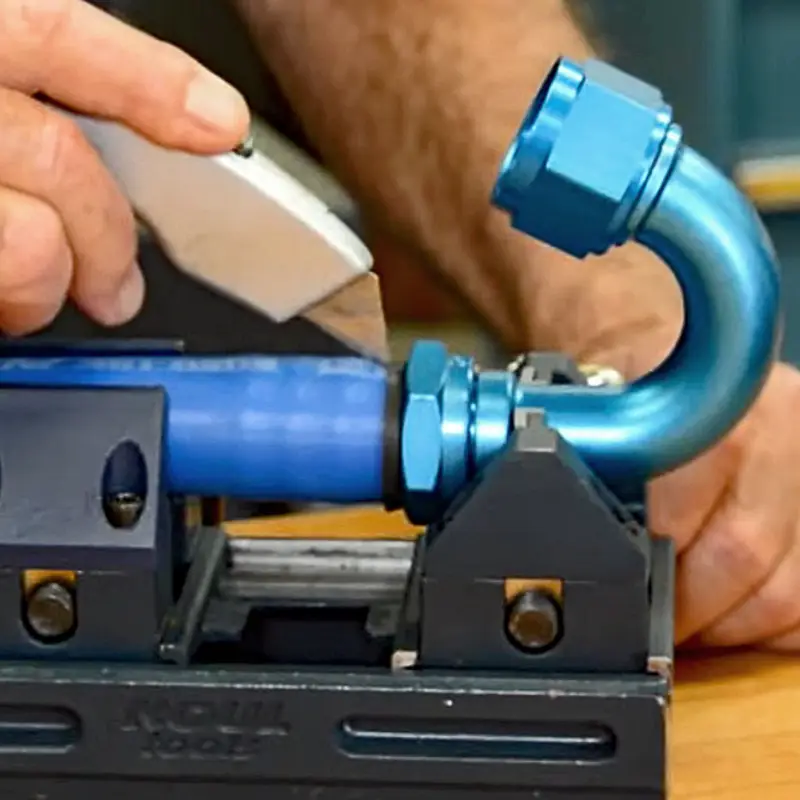
Next, accurately measure and cut the hose to the required length. Employ a sharp hose cutter or a suitable tool to achieve a clean, square cut. A precise cut ensures proper seating within the fitting, maximizing the sealing surface and preventing leaks. Avoid tools that may crush or distort the hose end, as this can hinder proper installation.
Finally, mark the insertion depth on the hose. This mark serves as a visual guide during installation, indicating how far the hose needs to be pushed into the fitting for a secure connection. The insertion depth is typically specified by the fitting manufacturer and can be found in the product documentation. Marking the hose with a permanent marker or tape helps prevent under-insertion or over-insertion.
- Inspect hose and fitting for cleanliness and damage.
- Measure and make a clean, square cut on the hose.
- Mark the insertion depth on the hose.
Step 2: Insert the Hose into the Fitting
Begin by firmly gripping the hose near the cut end. Align the hose with the fitting’s opening, ensuring it is straight and not angled. Proper alignment is crucial for smooth insertion and proper engagement of the barbs. Apply a slight twisting motion while pushing the hose into the fitting. This twisting motion helps to overcome any initial resistance and allows the barbs to grip the hose more effectively.
Continue pushing the hose until it reaches the marked insertion depth. You should feel a distinct click or resistance as the barbs engage with the hose, confirming that the hose is securely locked in place. Verify that the hose is fully inserted by checking the alignment of the mark with the fitting’s edge.
After insertion, gently pull on the hose to test the connection’s security. A properly installed push lock fitting will hold the hose firmly in place, resisting any significant pull force. If the hose pulls out or feels loose, repeat the insertion process, ensuring that the hose is fully inserted and the barbs are properly engaged. This test confirms the integrity of the connection.
- Align the hose with the fitting and apply a twisting motion.
- Push the hose until it reaches the marked insertion depth.
- Test the connection by gently pulling on the hose.
Step 3: Secure the Connection (If Applicable)
Some push lock fittings may include a locking sleeve or collar that provides additional security. If your fitting has this feature, slide the sleeve or collar over the hose and onto the fitting body. This additional step helps prevent accidental disconnection and reinforces the seal, especially in high-pressure or vibration-prone environments.
Once the sleeve or collar is in place, ensure it is fully engaged with the fitting. Some designs require a snap or click to indicate proper engagement. Verify the manufacturer’s instructions to insure proper engagement. This extra locking mechanism adds a layer of protection, particularly in high-pressure or vibration-prone applications.
Finally, perform a pressure test on the system to check for leaks. Gradually increase the pressure to the operating level and carefully inspect the connection for any signs of leakage. If leaks are detected, release the pressure, disassemble the connection, and inspect the hose and fitting for damage or improper installation. Address any issues and repeat the installation process to ensure a leak-free connection.
- Slide the locking sleeve or collar onto the fitting, if applicable.
- Ensure the locking mechanism is fully engaged.
- Perform a pressure test to check for leaks.
Where Can You Install Push Lock Fittings
Push lock fittings are versatile and can be installed in a wide range of applications across various industries. Their ease of use and reliable connections make them suitable for both simple and complex systems. They are commonly found in:
- Automotive: For fuel lines, air brake systems, and fluid transfer.
- Industrial Machinery: In pneumatic and hydraulic systems for air and fluid conveyance.
- Agricultural Equipment: For irrigation systems, sprayers, and hydraulic lines on tractors.
- Manufacturing: In assembly lines and automated systems for quick connections.
- Construction: In pneumatic tools and hydraulic equipment.
Their adaptability also extends to home and DIY projects, where quick and leak-free connections are desired. From air compressors and garden hoses to custom fluid systems, push lock fittings offer a convenient solution. The ability to quickly connect and disconnect these fittings makes them ideal for applications requiring frequent maintenance or adjustments.
Conclusion
In conclusion, push lock fittings offer a streamlined and efficient method for hydraulic hose connections, prioritizing speed and ease of use. Their design eliminates the need for complex tools, making them ideal for quick installations and repairs. The secure locking mechanism ensures a reliable seal, minimizing the risk of leaks and system downtime.
The simplicity of the push-to-connect and push-to-release functions significantly reduces labor time and potential errors. This user-friendly approach makes push lock fittings a valuable asset in various applications, from industrial machinery to automotive systems. Their adaptability and efficiency contribute to enhanced productivity and reduced maintenance costs.
For dependable, high-quality push lock fittings that guarantee performance and durability, look no further than DF Hydraulics. Explore their extensive range of fittings and experience the convenience and reliability they offer. Visit DF Hydraulics today to find the perfect push lock fittings for your needs.


