When working with copper pipes, one of the most reliable methods to create a secure and leak-free connection is by using copper pipe compression fittings.
Whether you’re a DIY enthusiast or a professional plumber, understanding how to install copper pipe compression fittings correctly is essential for ensuring the longevity and efficiency of your piping system.
Today, we will walk you through the installation process, from materials and tools to installation steps and troubleshooting tips. If you have any questions or need assistance, feel free to contact us!
What Are Copper Compression Fittings?
Before diving into the installation process, let’s start by understanding the key components and applications of copper compression fittings.
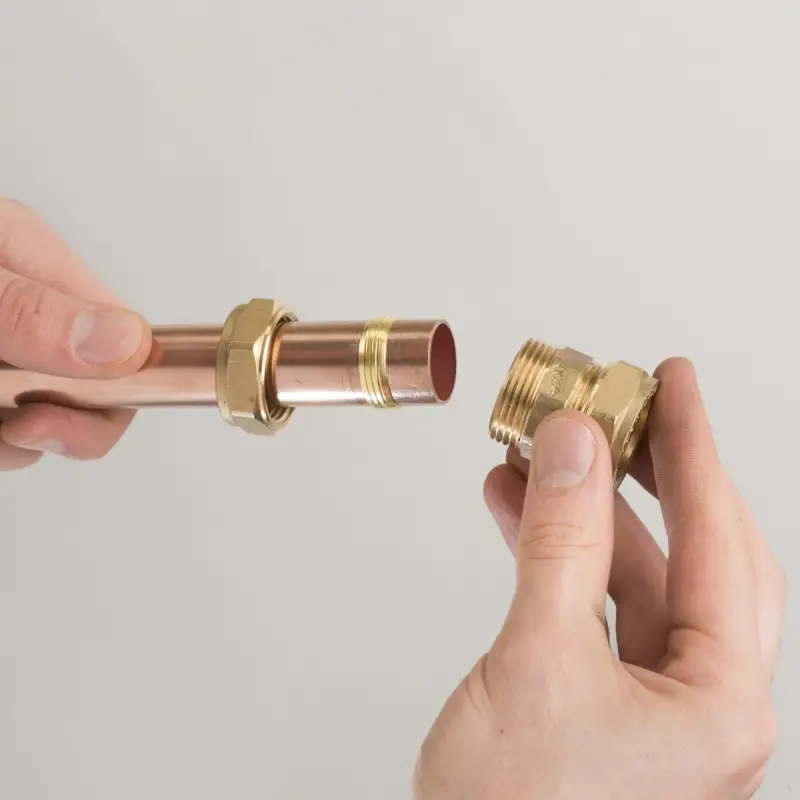
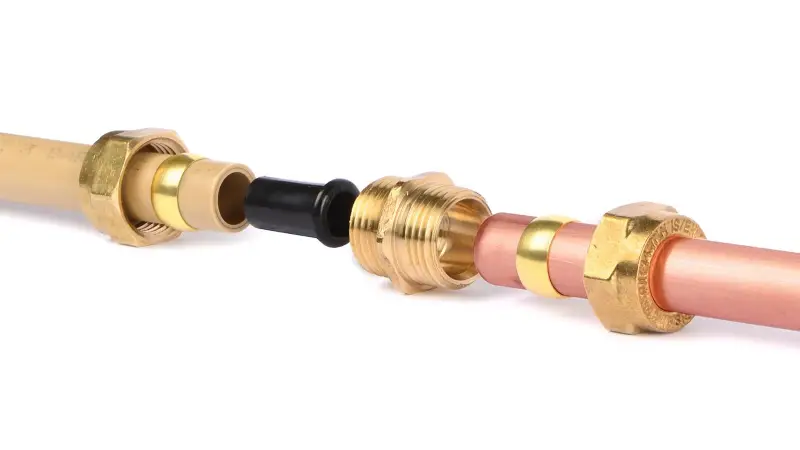
Copper compression fittings are used to connect copper pipes without the need for soldering. These fittings use a compression ring (also known as a ferrule) that is tightened by a nut to form a secure seal. This seal holds the pipe firmly in place and prevents leaks.
Key Components of Copper Compression Fittings
- Compression Nut: The threaded part that holds the ferrule in place.
- Ferrule (Compression Ring): A metal ring that compresses around the copper pipe to create a seal.
- Fitting Body: The part that connects the pipe to another pipe or fixture.
Applications of Copper Compression Fittings
Copper compression fittings are commonly used in plumbing, heating systems, and gas lines, including:
- Water plumbing: Connecting copper pipes in household water systems.
- Gas lines: Ideal for low-pressure gas connections.
- HVAC systems: Joining pipes in air conditioning and heating installations.
Common Types of Copper Compression Fittings
| Type | Description | Use Case |
|---|---|---|
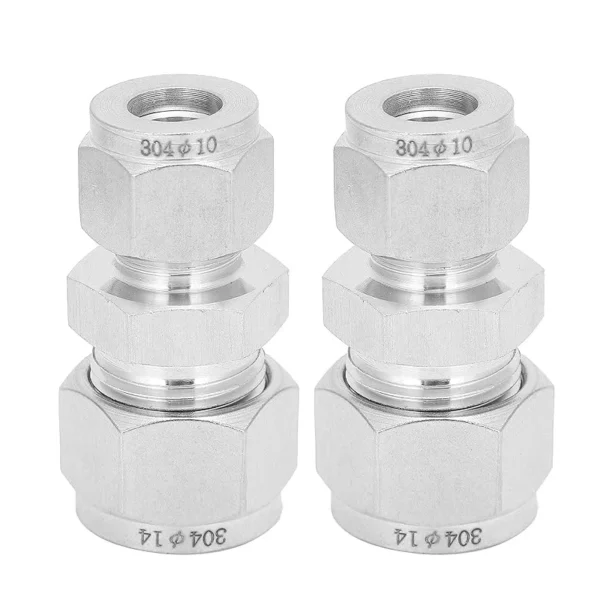
| Straight Compression Fitting | A simple, straight connector between two pipes. | Connecting two copper pipes in a straight line. |
| Elbow Compression Fitting | An angled connector, usually 90 degrees. | Used for changing direction in piping systems. |
| Tee Compression Fitting | A T-shaped connector for branching off pipes. | Used when connecting a branch pipe to a main pipe. |
| End Compression Fitting | A fitting designed to cap the end of a pipe. | To close off the end of a copper pipe. |
How Copper Compression Fittings Work
Compression fittings work by compressing the ferrule around the copper pipe as the compression nut is tightened.
The ferrule, which is slightly tapered, tightly grips the pipe, creating a seal that prevents leaks. This makes them an excellent choice for situations where welding or soldering is not ideal.
How to Install Copper Pipe Compression Fittings
Materials and Tools Preparation
Before beginning the installation, it’s important to gather all necessary materials and tools. Proper preparation ensures the job runs smoothly and minimizes the risk of errors.
Materials Required
- Copper Compression Fittings (of the right size)
- Copper Pipe (cut to the required lengths)
- Compression Rings/Ferrules (make sure they fit the pipe diameter)
Tools Required
- Pipe Cutter: For cutting the copper pipe to size.
- Deburring Tool: To smooth out the edges of the cut pipe.
- Adjustable Wrench: For tightening the compression nut.
- Measuring Tape: To measure the pipe and fittings accurately.
- Pipe Bender (if needed): To form bends in copper tubing.
- Clean Rag: For wiping the pipe and ensuring it’s clean.
How to Install Copper Pipe Compression Fittings: Installation Steps
Now let’s walk through the step-by-step process of installing copper pipe compression fittings.
Step 1: Prepare the Materials and Tools
Ensure that all materials and tools are gathered before starting. This will save you time and effort.
Step 2: Measure and Cut the Copper Pipe
- Measuring the Pipe: Measure the length of the copper pipe you need to install the fitting. Use a measuring tape to ensure an accurate measurement.
- Cutting the Pipe: Use a pipe cutter to cut the copper pipe to the desired length. Ensure the cut is straight to avoid issues with sealing.
Step 3: Deburr the Pipe
- After cutting the pipe, use a deburring tool to remove any sharp edges or burrs from the cut end. This step is crucial to ensure the pipe fits smoothly into the fitting and to prevent damage to the compression ring.
Step 4: Clean the Copper Pipe
- Use a clean rag to wipe the pipe and ensure it’s free from dirt, dust, or any debris. A clean surface ensures a good seal when the compression fitting is tightened.
Step 5: Insert the Compression Ring
- Slide the compression ring (ferrule) onto the copper pipe, making sure it’s positioned close to the end of the pipe.
Step 6: Attach the Compression Fitting
- Slide the fitting body onto the copper pipe, ensuring it fits snugly over the pipe.
- Follow by screwing the compression nut onto the fitting. Make sure the nut is threaded onto the fitting properly and not cross-threaded.
Step 7: Tighten the Compression Nut
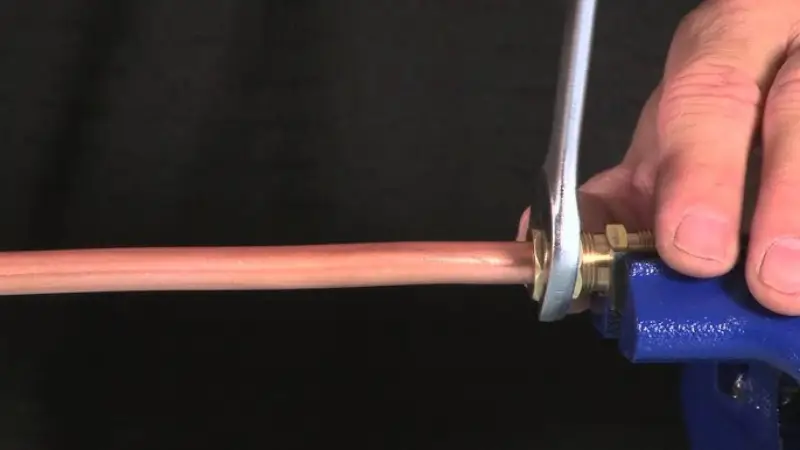
- Using an adjustable wrench, tighten the compression nut by turning it clockwise. Do not overtighten, as this can damage the fitting or cause the pipe to bend.
- The goal is to compress the ferrule onto the pipe to create a tight seal.
Step 8: Final Check
- Once the fitting is secured, give the compression nut a final gentle tighten to ensure it is snug.
Checks for Installing Copper Pipe Compression Fittings
After installation, it’s important to check for any issues.
Check for Leaks
- Turn on the water or gas supply and check for leaks around the compression fitting. If you notice any, try tightening the compression nut slightly.
Check Tightness
- Confirm that all connections are properly tightened. Ensure there’s no wobble or looseness in the fitting.
Maintenance and Troubleshooting for Installing Copper Pipe Compression Fittings
To ensure the longevity of your copper compression fittings, regular maintenance is essential.
Maintenance Tips
- Inspect Regularly: Periodically check compression fittings for signs of wear, leaks, or damage.
- Avoid Over-tightening: Over-tightening can damage the ferrule or pipe. Tighten only as much as needed.
Troubleshooting Common Issues
- Leaking Fittings: If you experience a leak, check if the compression nut is too loose. Tighten it until the leak stops.
- Hard to Tighten: If the compression nut is hard to turn, ensure the threads are properly aligned before tightening.
Installation Tips and Precautions
- Always use the correct size compression fitting for your copper pipe.
- Avoid using old or damaged fittings to ensure a secure seal.
- If you’re working with gas lines, use fittings rated for gas applications to prevent leaks.
Conclusion
Installing copper pipe compression fittings is a straightforward process that can provide secure, leak-free connections when done correctly.
By following the step-by-step instructions provided, you’ll be able to tackle the installation with confidence. If you have any questions or need more details, feel free to reach out to us for expert advice.
If you’re interested in our products, please visit our homepage or contact us for a product catalog.
FAQs About Installing Copper Pipe Compression Fittings
What size compression fitting for 1/2″ copper pipe?
For a 1/2 inch (1/2″) copper pipe, you will need a 1/2 inch compression fitting. It is crucial to ensure that the fitting matches your pipe’s outer diameter and wall thickness to achieve a proper seal and ease of installation. Incorrect sizing can lead to leaks or difficulties in securing the connection properly.
How do compression fittings work on copper pipe?
Compression fittings work by tightening the compression nut, which forces the ferrule (a ring-shaped component) to compress around the copper pipe. This compression creates a tight, leak-proof seal without the need for soldering or other permanent attachment methods. The result is a secure connection that can be easily disassembled for maintenance or repair.
How tight should a copper compression fitting be?
A copper compression fitting should be tightened firmly but not excessively. Over-tightening can damage the components and compromise the seal. Use an adjustable wrench to tighten the fitting with a firm but gentle hand. Avoid using power tools as they may apply too much force. The goal is to achieve a snug fit without deforming the ferrule or damaging the pipe.
How to clean copper pipe for compression fitting?
Before installing a compression fitting, it is essential to clean the copper pipe thoroughly. Use a clean rag to wipe away any dust, dirt, or oil from the surface of the pipe. Proper cleaning ensures a good seal and prevents potential leaks. For deeper cleaning, you might consider using an appropriate solvent, especially if there is stubborn residue or oxidation present.
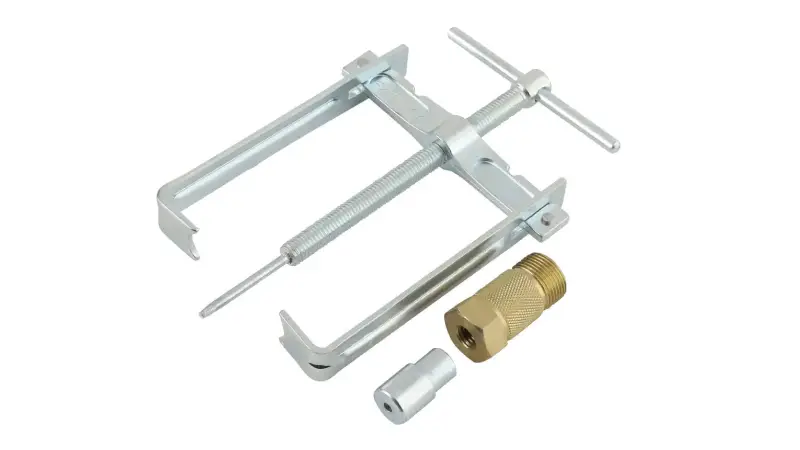
How to remove a copper compression fitting?
To remove a copper compression fitting, start by loosening the compression nut with a wrench. Once the nut is loose, slide the ferrule off the pipe and detach the fitting. If the fitting is difficult to loosen, gently twisting it or applying penetrating oil can help. Before reinstallation, inspect all components for wear or damage and replace any parts as necessary to maintain safety and sealing performance.
Where to buy compression fittings?
For high-quality and custom copper compression fittings, reach out to us at Dingfeng. We offer a full range of fittings for all your needs. Feel free to contact us for more details or a product catalog.


